
Don’t Let Your Dryvit Drive You Crazy
Is Your Home’s Dryvit Hiding a Costly Problem?
A dryvit inspection is a professional evaluation of your home’s Exterior Insulation and Finish System (EIFS) to detect hidden moisture damage, sealant failure, and structural deterioration before they become expensive problems.
What a Dryvit inspection typically covers:
- Visual check of the exterior finish for cracks, bulging, and staining
- Moisture probe testing of the wood sheathing and framing behind the cladding
- Infrared scanning to detect hidden water intrusion
- Sealant and flashing condition assessment
- A detailed written report with repair recommendations
Cost: Dryvit inspections generally range from $495 to $1,595 depending on home size.
Dryvit is one of the most recognized brand names in synthetic stucco — so widely used that it has become a catch-all term for EIFS systems, much like “Kleenex” for tissues. Over 50 years, Dryvit has clad more than 550,000 structures across North America. That’s an impressive track record. But it comes with a catch.
When EIFS systems trap moisture behind the cladding — and they often do — the damage is completely invisible from the outside. By the time dark staining, soft spots, or mold appear, the underlying wood structure may already be severely compromised. In documented cases, moisture intrusion has destroyed up to 80% of a home’s plywood sheathing — with no obvious warning signs on the surface.
This is exactly why a professional inspection matters so much, especially if you’re planning to sell or if your home hasn’t been evaluated in the last two years.
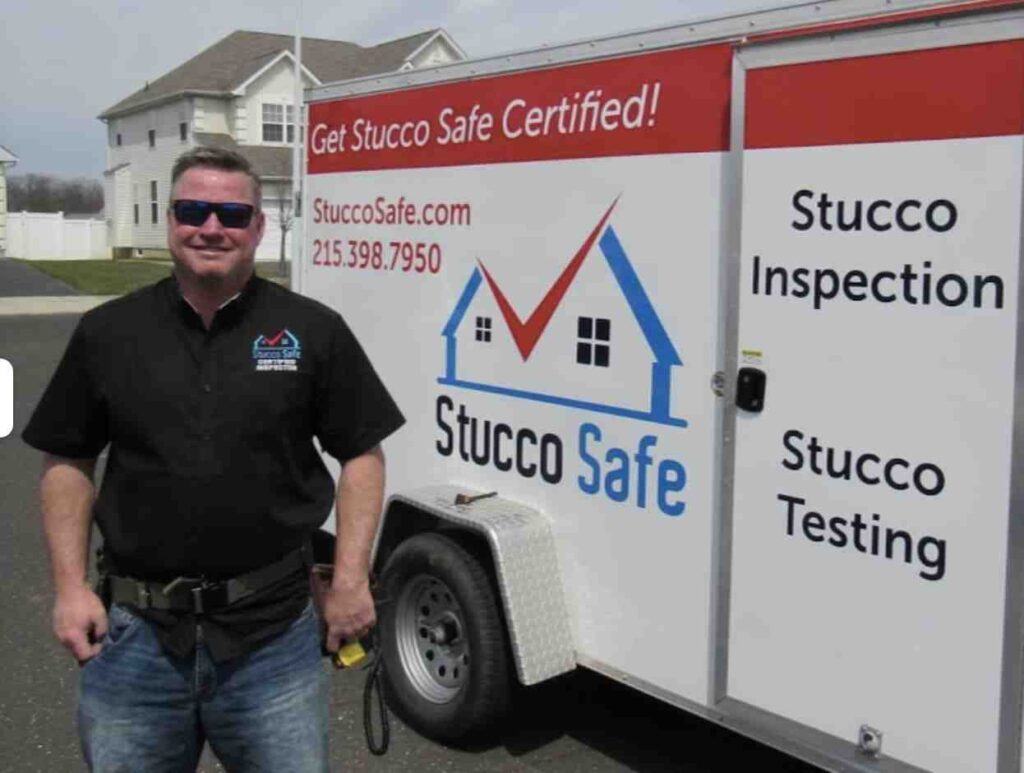
I’m Gabe Kesslick, founder of Stucco Safe and a licensed AWCI EIFS Inspector and EDI Level 2 Certified Stucco Inspector with over two decades of experience performing dryvit inspections across the Philadelphia region and beyond. In this guide, I’ll walk you through everything you need to know to protect your home.

Dryvit inspection vocabulary:
Understanding Dryvit and the Need for a Dryvit Inspection
If you live in Southeastern Pennsylvania, New Jersey, or Delaware, you’ve likely seen hundreds of homes clad in what looks like traditional stucco but feels a bit different to the touch. This is likely Dryvit. While it offers incredible energy efficiency and a beautiful, modern aesthetic, it is fundamentally different from the heavy masonry-based stucco used on historic homes in West Chester or Villanova.
Because Dryvit is a multi-layered “outsulation” system, it relies on a perfectly sealed exterior “envelope” to keep water out. If that envelope is breached—whether by a tiny crack, a failing window sealant, or poor roof flashing—water gets trapped behind the foam. Unlike traditional materials that might breathe or dry out, early Dryvit systems act like a plastic wrap, holding that moisture against your wooden house frame. This is why moisture issues explained clearly are the number one priority for any homeowner with this cladding.

Defining Dryvit vs. Traditional Stucco
To understand why a dryvit inspection is so specialized, we have to look at what’s under the hood. Traditional stucco is a cementitious mix applied over a metal lath. It’s hard, heavy, and somewhat breathable.
Dryvit, or EIFS (Exterior Insulation and Finish System), is a polymer-based system. It typically consists of:
- Adhesive/Fasteners: To attach the system to the home’s sheathing.
- Insulation Board: Usually expanded polystyrene (EPS) foam.
- Base Coat and Reinforcing Mesh: A glass-fiber mesh embedded in a polymer-modified cement.
- Finish Coat: A durable, acrylic-based textured coating that is both colorfast and dirt-resistant.
| Feature | Traditional Stucco | Dryvit (EIFS) |
|---|---|---|
| Material | Portland Cement, Lime, Sand | Polymer-modified Cement & Foam |
| Breathability | High (Permeable) | Low (Barrier System) |
| Weight | Very Heavy | Lightweight |
| Insulation | Minimal | High R-Value |
| Flexibility | Brittle (Prone to hairline cracks) | Flexible (Resists thermal cracking) |
For a deeper dive into these differences, check out our Dryvit siding problems complete guide.
Why Regular Testing is Essential
The history of EIFS is marked by a major turning point. In 1995, a massive controversy erupted in North Carolina and spread across the East Coast, revealing that thousands of homes were rotting from the inside out. This led to a stucco manufacturers class action lawsuit that changed the industry forever.
The problem wasn’t the material itself, but the “barrier” design. If water got in, it couldn’t get out. For commercial property owners, the stakes are even higher, making commercial EIFS inspection a vital part of risk management. Regular testing identifies these failures in their infancy, saving owners from six-figure remediation bills.
Common Problems and Warning Signs of System Failure
The most terrifying thing about Dryvit failure is that it often looks perfect on the surface. We have inspected homes in Cherry Hill and King of Prussia where the exterior looked brand new, but our probes revealed that the plywood sheathing had turned into a substance resembling wet mulch.
Identifying EIFS on Your Home
Not sure if you have Dryvit or traditional stucco? You can often tell with a few simple tests:
- The Knock Test: Tap on the wall with your knuckles. If it sounds hollow (like tapping on a door), it’s likely EIFS. Traditional stucco sounds solid, like tapping on a brick.
- The Press Test: Press your thumb firmly against the wall. EIFS has a slight “give” because of the foam board underneath.
- Aesthetic Details: Look at the moldings around windows and doors. If they are intricate, thick, and sound hollow, they are made of foam—a hallmark of EIFS.
- Control Joints: Traditional stucco requires frequent “V” shaped joints to control cracking. Dryvit is flexible and often lacks these joints over large spans.
Exterior and Interior Red Flags
While many issues are hidden, there are some “tells” that suggest you need an immediate dryvit inspection. On the exterior, look for:
- Cracked Finish: Even tiny “spiderweb” cracks can allow bulk water to enter.
- Bulging: If the wall looks like it’s “pillowing,” the foam may be delaminating from the substrate due to moisture.
- Staining: Dark streaks (especially under window corners) often indicate that water is running behind the finish rather than over it.
On the interior, keep an eye out for:
- Damp Drywall: Soft spots near windows or floor lines.
- Peeling Paint: Moisture trapped in the wall will eventually push inward.
- Musty Odors: A sign of mold growth within the wall cavity.
For a full list of what we look for, see our EIFS inspection checklist. You can also read more about EIFS moisture problems to understand why these signs are so critical.
The Professional Dryvit Inspection Process
At Stucco Safe, we don’t just “look” at your house. A visual inspection is only the first 10% of the job. To truly understand what’s happening, we use forensic testing methods that go beneath the surface.
What to Expect During a Professional Dryvit Inspection
When we arrive at your property in Edison, Middletown, or West Chester, we follow a rigorous protocol:
- Visual Assessment: We document every crack, every missing kick-out flashing (the piece of metal that diverts water away from the wall at roof lines), and the condition of all sealants.
- Moisture Probing: This is the “gold standard.” We drill two tiny 3/16-inch holes (about the size of a pencil lead) in inconspicuous areas—usually under windows or at floor lines. We insert a moisture meter to test the electrical resistance of the wood sheathing. If the wood is wet, the meter tells us exactly how much.
- Infrared Scanning: We use thermal imaging cameras to look for temperature anomalies. Wet insulation holds heat differently than dry insulation, allowing us to “see” water through the walls.
- Sealant Inspection: We check if the caulk around windows is still flexible or if it has pulled away, creating a highway for water intrusion.
We pride ourselves on following EIFS inspection best practices to ensure no stone is left unturned.
Who Should Perform Your Dryvit Inspection?
You wouldn’t ask a general practitioner to perform heart surgery; don’t ask a general home inspector to perform a dryvit inspection. Most standard home inspectors explicitly exclude EIFS from their reports because they lack the tools and the insurance to cover it.
Your inspector should have:
- EDI (Exterior Design Institute) Certification: This is the premier certification for moisture testing.
- AWCI (Association of the Wall and Ceiling Industry) Training: This ensures they understand how the systems are actually built.
- Third-Party Independence: We don’t perform repairs. This means our only goal is to give you an honest, unbiased assessment of your home’s health.
For more on why these credentials matter, read our certified EIFS inspector guide and review the EIFS inspector certification details. You can also reference the official third party inspection guidelines provided by the manufacturer.
Financial Impact and Maintenance Solutions
The “EIFS Stigma” is a real financial hurdle. In some real estate markets, homes with Dryvit can experience a diminution of value between 20% and 35%. Buyers are often scared off by the potential for hidden rot, and some insurance companies or banks may even refuse to cover or finance homes without a clean dryvit inspection report.
The DryvitCARE Program and Modern Repairs
The good news is that Dryvit is not a “death sentence” for your home. Modern engineering has provided excellent solutions.
- DryvitCARE: This is the manufacturer’s official program for cleaning, repairing, and restoring systems. It includes protocols for using low-pressure power washing and specific cleaners to keep the finish looking new without damaging the “skin.”
- Drainable Systems: If you are replacing your siding, modern EIFS now includes a “drainage plane”—a space between the foam and the house that allows water to weep out the bottom. This solves the primary flaw of the 1990s systems.
- Sealant Replacement: Often, the “fix” is as simple as removing old, dried-out caulk and replacing it with high-performance, commercial-grade sealants like Tremco.
For technical details, you can view the DryvitCARE repair procedures or the DryvitCARE brochure. If you’re in the northern part of our service area, check out our insights for an EIFS inspector in Northern NJ.
Preventing Moisture Intrusion
Prevention is significantly cheaper than a cure. Here is how you can extend the life of your Dryvit system:
- Annual Visual Checks: Walk around your home every spring. Look for new cracks or gaps in the sealant.
- Maintain Landscaping: Ensure mulch and dirt are at least 8 inches below the edge of the Dryvit to prevent “wicking” and termite access. Termites love tunneling through foam because it’s soft and hidden.
- Professional Inspection Every 2 Years: This catches small leaks before they destroy your sheathing.
Some owners choose to explore a MoistureFree stucco warranty for added peace of mind, while others decide that replacing Dryvit with James Hardie is the best long-term move for their resale value.
Frequently Asked Questions about Dryvit
How often should I have my Dryvit inspected?
We recommend a professional dryvit inspection every two years. Because moisture damage happens behind the scenes, you cannot wait for symptoms to appear. If you are buying or selling a home, an inspection should be performed immediately as part of the due diligence process.
Can Dryvit be repaired without replacing the whole system?
Yes! In many cases, if the moisture is caught early, we can identify the specific entry point (like a bad window flashing). A qualified contractor can then perform a “targeted repair,” replacing only the damaged section of foam and sheathing, and then color-matching the new finish to the rest of the house.
Does a standard home inspection cover Dryvit testing?
Almost never. Standard home inspections are “non-invasive,” meaning they only look at what is visible. They do not use moisture probes or infrared cameras. To protect your investment, you need a specialized forensic inspection.
Conclusion
Owning a home with Dryvit doesn’t have to be a source of constant stress. When properly maintained and regularly inspected, EIFS is a high-performing, beautiful, and incredibly energy-efficient cladding. The key is to never let a “small” leak turn into a “big” rot problem.
At Stucco Safe, we provide the expert moisture detection and forensic testing you need to protect your property value and your family’s health. Whether you’re in Philadelphia, Camden, or Wilmington, our certified inspectors are ready to give you the peace of mind you deserve.
Don’t let your siding drive you crazy—get the facts. Schedule a professional stucco inspection and testing in Philadelphia or your local area today.