
Have you received a stucco inspection that indicates that there is a problem that requires stucco remediation in the Philadelphia, PA area? This is a common issue in the area. Philadelphia, is a relatively wet city which also gets freezing temperatures in the winter. These weather conditions require exterior cladding systems that can repel moisture from the dry parts of the building envelope. 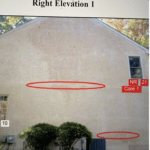
![]()
When we think about “Stucco Remediation” we’re usually talking about moisture problems that are affecting the dry components of the structure which include sheathing, framing, insulation and drywall. Correcting these moisture issues requires 2 general tasks. First, repair the wet and rotten building components and second stop the underlying moisture issue. Sounds logical, Right? It is, but the cost of proper stucco remediation is fairly pricey. In an effort to meet budgets that don’t meet the costs of proper stucco remediation, some contractors offer a solution to only the first step in the process. I’ve seen single family homes go through a process they were told was stucco remediation 3 and 4 times. On the same house on the same areas. I think this is a crazy way to approach the issue. When the right process is applied stucco remediation is a once and done forever process. 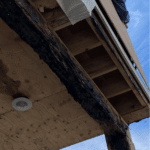
The Right Way to do Stucco Remediation
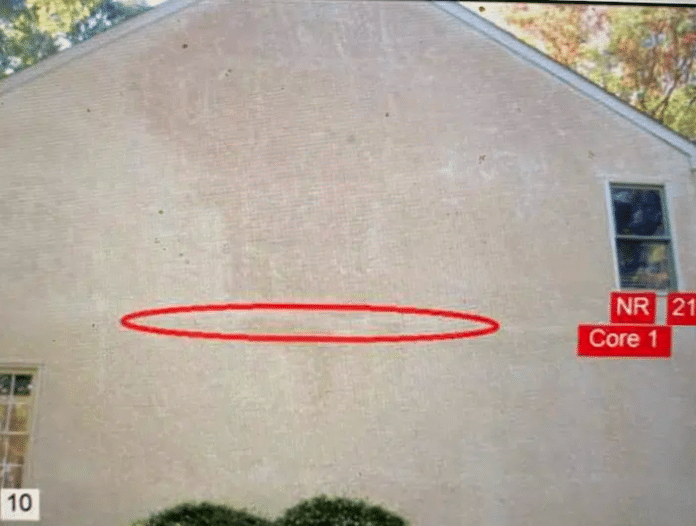
Here we’ll review the steps in a proper stucco remediation. We’ll refer to the project area, and this will be a section that has 2 corners a top and a bottom as this is the minimum area we suggest be repaired. Of course, all stucco remediation projects should begin with a thorough stucco inspection from Stucco Safe to identify areas that are wet or rotted. Click this link to learn more about the inspection. What’s Involved in an Invasive Stucco Inspection?
- Remove all of the stucco and building papers and check the sheathing.
- Remove any wet or rotted OSB.
- Check components behind the removed OSB for moisture or rot. Remove or repair wet or rotted materials.
- Replace Wet or Rotted OSB
- Install building paper which is appropriate to the material going back (2 layers for stucco, 1 layer for siding)
- Remove windows, fabricate a sill pan and apply into rough window opening with a 4 inch flap that will stick out below the nailing flange.
- Install approved tape over the flashing and up the sides of the rough opening 6 inches up each side
- Be sure the flap you created is outside of the building paper.
- Replace window units
- Install new cladding with appropriate flashing whether is be stucco, siding or stone.
Frequently Asked Questions about Stucco Remediation
- Can we repair just underneath the problem penetrations/windows? Yes, but expect the problem to return. You can’t solve the problem permanently without creating a new drainage plane on the wall and flash the windows. This process can only be done in whole top to bottom and corner to corner sections.
- Do I have to remove the windows? If you’re installing stucco back on the house, yes, there is no way around that.
- I’m installing siding, must I pull the windows? This tends to be a grey area, because the manufacturers instructions usually show window installation after the water resistive barrier is installed as it would be in new construction. The manuals do not address this issue with existing homes. The Exterior Design Institute folks https://exteriordesigninstitute.org/ usually are the ones to answer these kinds of grey area questions. At a recent meeting, they told the inspectors the windows do not necessarily need to be pulled for a siding application. If they are not, however, a window leaking though the sash track will allow moisture in.