
What drill bit to use for stucco: 1st Ultimate Pick
Introduction: Choosing the Right Tool for a Tough Job
What drill bit to use for stucco depends on the hardness of the material and the size of the hole you need. Here’s the quick answer:
Best Drill Bits for Stucco:
- Carbide-tipped masonry bits – The go-to choice for most stucco drilling projects
- Diamond-tipped masonry bits – For extra durability and harder stucco surfaces
- SDS-Plus bits – For larger holes or heavy-duty work with rotary hammer drills
Quick Selection Guide:
- Small holes (up to 3/8″): Standard carbide masonry bit with a regular drill
- Larger holes (1/2″ and up): SDS-Plus bit with a rotary hammer drill
- Multiple holes or hard stucco: Diamond-tipped masonry bit with a hammer drill
Many homeowners hesitate to drill into their stucco walls, worried about cracking the surface or using the wrong tool. The truth is, stucco is a cement-based material that’s both incredibly hard and surprisingly brittle. A standard wood or metal drill bit simply won’t work—it will overheat, dull quickly, and potentially chip or crack your stucco finish.
The key to success is simple: use a masonry drill bit with a hardened carbide or diamond tip. These bits are specifically designed to handle the abrasive, concrete-like nature of stucco without overheating or breaking down.
Choosing the wrong drill bit doesn’t just waste your time. It can damage your stucco surface, requiring costly repairs. And if you’re drilling to mount something on your exterior wall, improper technique can create pathways for moisture intrusion—a serious concern that can lead to hidden water damage behind your stucco.
As Gabe Kesslick, an EDI Level 2 Certified Stucco Inspector since 2001, I’ve seen countless examples of improper drilling techniques that led to expensive moisture remediation projects. Understanding what drill bit to use for stucco is your first step toward successfully completing your project while protecting your home’s structural integrity.

What drill bit to use for stucco terms to know:
Why Standard Drill Bits Fail on Stucco
Imagine trying to cut through a diamond with a butter knife. That’s what happens when you use a standard drill bit on stucco. Stucco is a robust mixture of cement, sand, and water, making it incredibly hard and abrasive once cured—much like concrete. This composition is why a regular drill bit, designed for softer materials like wood or metal, is destined to fail.
Standard drill bits, typically made from high-speed steel (HSS), have sharp edges that quickly dull against stucco’s gritty texture. The immense friction causes the bit to overheat, often turning it blue or even melting the tip. This not only destroys the bit but also risks chipping, cracking, or spalling your stucco, compromising your home’s protective exterior.

The abrasive nature of stucco will grind down a standard bit, causing it to “walk” across the surface and preventing you from starting a clean hole. You’ll end up with a damaged bit, a scarred wall, and a stalled project.
Understanding Stucco Layers
To understand why specialized bits are essential, you need to know what’s in a stucco wall. It’s a multi-layered system: you’ll drill through a decorative finish coat, a structural brown coat, and a foundational scratch coat. These are often reinforced with a metal lath (wire mesh). Behind this is a critical moisture barrier protecting the wall’s sheathing (plywood/OSB) and wooden framing. Knowing these layers helps you choose the right bit length and fastener for a secure mount that won’t compromise the wall’s integrity.
The Problem with Using the Wrong Drill
Using the wrong drill or bit for stucco leads to a cascade of problems:
- Damaged Tools and Walls: Standard bits will quickly burn out or break. The improper force and vibration can chip, crack, or spall the stucco surface, requiring unsightly repairs.
- Ineffective Work: You’ll create ragged, incomplete holes that won’t hold anchors securely, wasting your time and money.
- Moisture Intrusion: Most critically, you can tear the moisture barrier behind the stucco. This creates a direct path for water to enter the wall cavity, leading to hidden wood rot, mold, and costly structural damage—an issue we frequently see as certified stucco inspectors in Southeastern Pennsylvania, New Jersey, and Delaware.
What Drill Bit to Use for Stucco: Your Best Options
Now that we understand why standard bits fail, let’s focus on the right tools for the job. When asking what drill bit to use for stucco, the answer is a masonry bit, specifically one with a carbide or diamond tip. These are engineered to handle hard, abrasive materials like stucco.

Masonry Drill Bits: The Go-To Choice
Masonry drill bits are your best friend for drilling into stucco. They are purpose-built to withstand the rigors of concrete, brick, and stucco. Here’s what makes them special:
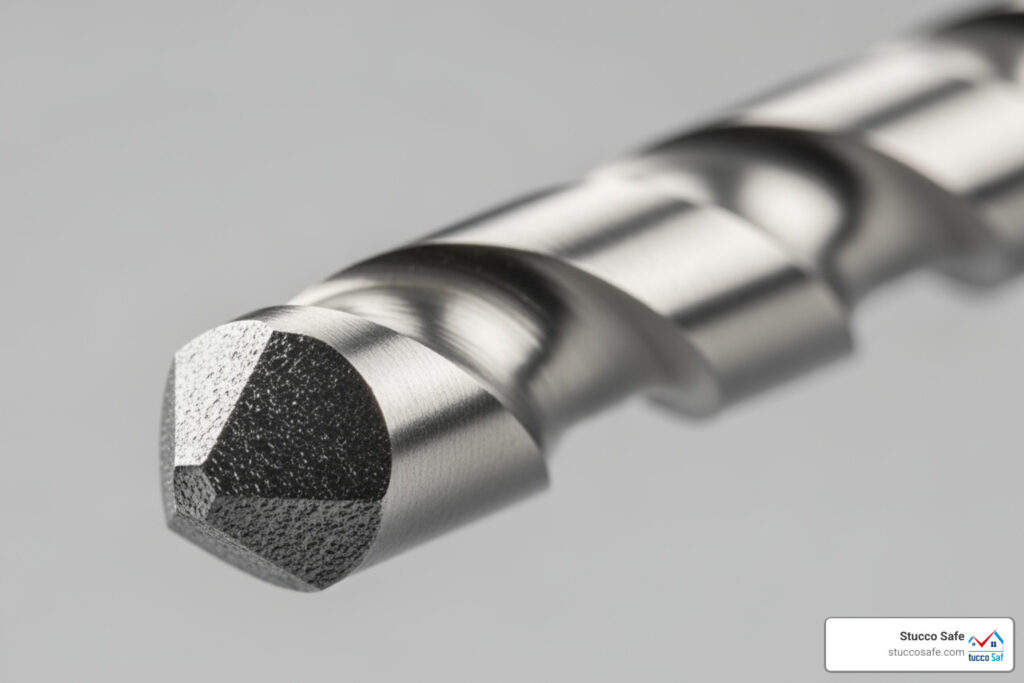
- Carbide Tip: An extremely hard, arrowhead-shaped tip made of tungsten carbide pulverizes stucco instead of cutting it, ensuring a clean start.
- Hardened Steel Body: Provides the necessary strength to support the tip and resist bending under the forces of masonry drilling.
- Wide Flutes: These aggressively designed grooves quickly clear away dust and debris to reduce heat and prevent the bit from binding in the hole.
- Percussion-Ready: Engineered to work optimally with the hammering action of a hammer drill for maximum efficiency.
For most stucco drilling tasks, a quality carbide-tipped masonry bit is the perfect choice. We recommend a versatile set like this Professional Masonry Drill Bit Set.
SDS Bits for Heavy-Duty Projects
For serious power, especially when drilling through thick stucco or into concrete backing, SDS bits with a rotary hammer drill are the champions. Rotary hammers are a major step up from standard hammer drills, delivering a powerful impact that pulverizes material with incredible efficiency.
- Use with Rotary Hammer Drills: SDS bits are designed for rotary hammers, which use an electro-pneumatic mechanism to deliver a much stronger impact than a standard hammer drill.
- Slotted Drive System (SDS): The bit’s unique shank locks into the drill’s chuck, allowing for maximum power transfer during impact. SDS-Plus is the most common type for consumer and pro-level tools.
- Superior Performance: The combination of a rotary hammer and an SDS bit pulverizes dense stucco and even underlying concrete with incredible speed and efficiency.
- Heavy-Duty Applications: This is the best choice for large holes, drilling into concrete block backing, or any extensive drilling project. A quality SDS+ Rotary Hammer Drill Bit Set is an excellent investment.
What drill bit to use for stucco vs. other materials
To further clarify what drill bit to use for stucco, let’s compare the different types of drill bits and their ideal applications:
| Bit Type | Material | Tip Design | Required Drill | Best Use |
|---|---|---|---|---|
| General-Purpose (HSS) | High-Speed Steel | Sharp, twisted flute, pointed tip | Standard Drill | Wood, plastic, soft metals. Absolutely not recommended for stucco. |
| Masonry | Hardened Steel with Carbide/Diamond Tip | Spear-point or cross-shaped carbide/diamond tip | Standard Drill (for small holes), Hammer Drill (recommended for most stucco) | Stucco, brick, concrete, stone, tile, glass. The go-to for most stucco projects due to its ability to pulverize hard, abrasive materials. |
| SDS-Plus | Hardened Steel with Robust Carbide Tip | Aggressive, often multi-cutter carbide tip, specialized shank | Rotary Hammer Drill | Heavy-duty stucco drilling, concrete, rebar, thick masonry. Ideal for larger holes, deep penetration, or when drilling into concrete backing behind stucco. Provides superior speed and efficiency. |
How to Select the Perfect Drill Bit for Your Project
Choosing the right drill bit means matching it to your specific project, considering the fastener, hole depth, and bit features.
What drill bit to use for stucco with different fasteners
The size of your drill bit is determined by the anchor you’re using. An incorrectly sized hole will prevent the anchor from gripping effectively.
- Follow Anchor Instructions: The anchor’s packaging will specify the exact drill bit diameter required. This is the most important rule. For example, Tapcon concrete screws, which are excellent for stucco, require specifically sized bits to work correctly.
- Use Anchors, Not Just Screws: Stucco is too brittle to hold a screw directly. You must use a properly sized stucco screw anchors (plastic, metal expansion, etc.) to create a secure mount.
- Pilot Holes: For larger bits, drilling a smaller pilot hole first can prevent the bit from wandering and reduce surface chipping.
- Common Sizes: For light-duty items, you’ll often use 3/16″, 1/4″, or 5/16″ bits for corresponding anchors. A common example is using a 5/32″ bit for a 3/16″ Tapcon screw. Always verify with the fastener manufacturer’s guide.
Here’s a quick reference for common stucco anchors and typical bit sizes:
- Plastic Sleeve Anchors (Light-Duty): A 1/4″ anchor usually requires a 1/4″ bit.
- Tapcon Screws (Medium-Duty): A 1/4″ Tapcon screw requires a 3/16″ bit. (Note: Tapcon bits are specifically sized; always use the recommended bit.)
- Metal Expansion Anchors (Heavy-Duty): A 3/8″ anchor usually requires a 3/8″ bit.
Key Features to Look for in a Stucco Drill Bit
When buying a bit, look for these features to ensure performance and durability:
- Material: A tungsten carbide or diamond tip is essential.
- Tip Geometry: Spear-point tips start holes cleanly. Cross-shaped (or four-cutter) tips are more durable and better for very hard materials or hitting rebar.
- Flute Design: Wide, deep flutes are crucial for clearing debris quickly and reducing heat.
- Shank Type: Ensure the shank (straight, hex, or SDS-Plus) matches your drill’s chuck. Hex and SDS-Plus shanks prevent slippage under high torque.
- Bit Length: Choose a bit long enough to drill through all stucco layers and into the underlying structure (like sheathing or a stud) to properly set your anchor.
A Step-by-Step Guide to Drilling into Stucco
With the right drill bit and a solid plan, drilling into stucco is a manageable DIY project. Follow these steps for a clean, safe result that protects your home.
Preparing for the Job
Proper preparation is key to preventing damage and ensuring safety.
- Safety First: Always wear safety goggles to protect your eyes from debris, a dust mask to avoid inhaling silica dust, and ear protection when using a hammer drill.
- Mark Your Spot: Clean the surface and use a pencil and level to precisely mark the hole’s location.
- Use Painter’s Tape: Place a small piece of tape over the mark. This simple trick prevents the bit from “walking” and significantly reduces the chance of chipping the stucco finish.
- Check for Utilities: Before drilling, use a stud finder with electrical and metal detection to check for hidden wires or pipes. Hitting a utility line is a dangerous and costly mistake.
- Select the Right Drill: Use a standard drill only for small holes. A hammer drill is recommended for most stucco work. For large holes or concrete backing, a rotary hammer is best.
- Set the Drill: Engage the “hammer” or “percussion” mode on your drill for masonry work.
The Drilling Process
Now you’re ready to make a clean hole.
- Start Slow: Position the bit on your mark and begin drilling at a slow speed without the hammer function engaged. This creates a small pilot divot and ensures a clean start.
- Engage Hammer and Drill: Once the divot is made, switch on the hammer function. Apply firm, steady pressure and increase the speed. Let the drill do the work; don’t force it. Keep the drill perpendicular to the wall.
- Clear Dust: Periodically pull the spinning bit partially out of the hole to clear dust from the flutes. This reduces heat, prevents binding, and speeds up drilling.
- Cool the Bit: For tough jobs or multiple holes, occasionally misting the bit with water will prevent overheating and prolong its life.
- Clean the Hole: After reaching the desired depth, withdraw the bit and use compressed air or a small brush to thoroughly clean all dust from the hole. A clean hole is vital for a secure anchor.
- Seal and Set the Anchor: For exterior holes, inject a small amount of exterior-grade waterproof caulk into the hole to create a moisture seal. Then, gently tap your chosen stucco wall anchors in until it’s flush with the surface.
- Insert the Screw: Drive a corrosion-resistant screw (stainless steel is best) into the anchor. Don’t overtighten, as this can crack the stucco or strip the anchor. Apply a final bead of caulk around the fixture for an extra layer of weather protection.
Frequently Asked Questions about Drilling into Stucco
We hear a lot of questions about drilling into stucco. Here are the quick answers to the most common ones.
Can I use a regular drill bit for stucco?
No. A regular drill bit made of high-speed steel is not hard enough for stucco’s cement-based composition. It will quickly overheat, dull, and become useless, while potentially chipping or cracking your stucco surface. You must use a carbide-tipped masonry bit.
What should I do if I hit the metal lath?
Hitting the metal reinforcement lath behind the stucco is common. A good quality carbide-tipped masonry bit can usually drill through it. Continue applying firm, steady pressure, and consider slowing the drill speed slightly to allow the bit to cut through the metal. If you struggle, you can reposition the hole, but in most cases, the right bit will get the job done. Be aware that hitting metal will dull your bit faster.
How do I choose the right drill for the job?
The drill you choose depends on the scale of the job. Ensure your bit’s shank (straight, hex, SDS-Plus) matches your drill’s chuck.
- Standard Drill: Only for small, infrequent holes (under 3/8″) with a masonry bit. It will be slow and require more effort.
- Hammer Drill: This is the recommended tool for most DIY stucco projects. Its hammering action makes drilling much faster and easier.
- Rotary Hammer: The best choice for heavy-duty work, large holes (1/2″ and up), or drilling into concrete backing. Use with SDS-Plus bits for maximum power and efficiency. You can often rent these from local hardware stores for one-off projects.
Conclusion: Drill with Confidence and Protect Your Home
Drilling into stucco doesn’t have to be a daunting task. By understanding the nature of stucco and equipping yourself with the right tools and techniques, you can approach your home improvement projects with confidence.
Here are the key takeaways:
- Always use a carbide-tipped masonry drill bit or, for heavy-duty work, an SDS-Plus bit. Regular drill bits are simply no match for stucco.
- Match the drill bit size precisely to your fastener or anchor and always follow the manufacturer’s instructions.
- Drill carefully and patiently, using painter’s tape, starting slow, engaging the hammer function, and clearing dust regularly.
- Prioritize sealing every hole with exterior-grade waterproof caulk to prevent moisture intrusion, which is the biggest threat to your stucco system.
At Stucco Safe, we understand the importance of maintaining your home’s exterior integrity. Our expertise in stucco inspection and testing throughout Southeastern Pennsylvania, New Jersey, and Delaware means we’ve seen the consequences of improper drilling firsthand. If, during your drilling project, you uncover any signs of hidden moisture or damage behind your stucco, we urge you to consider a professional stucco inspection. Our certified experts use forensic testing methods to detect issues that aren’t visible to the naked eye, providing you with peace of mind and protecting your investment. Stucco Inspections vary in cost from $495 to $1595 or more for very large homes, a small price to pay for the health of your home.
Drill smart, seal thoroughly, and keep your stucco safe!