
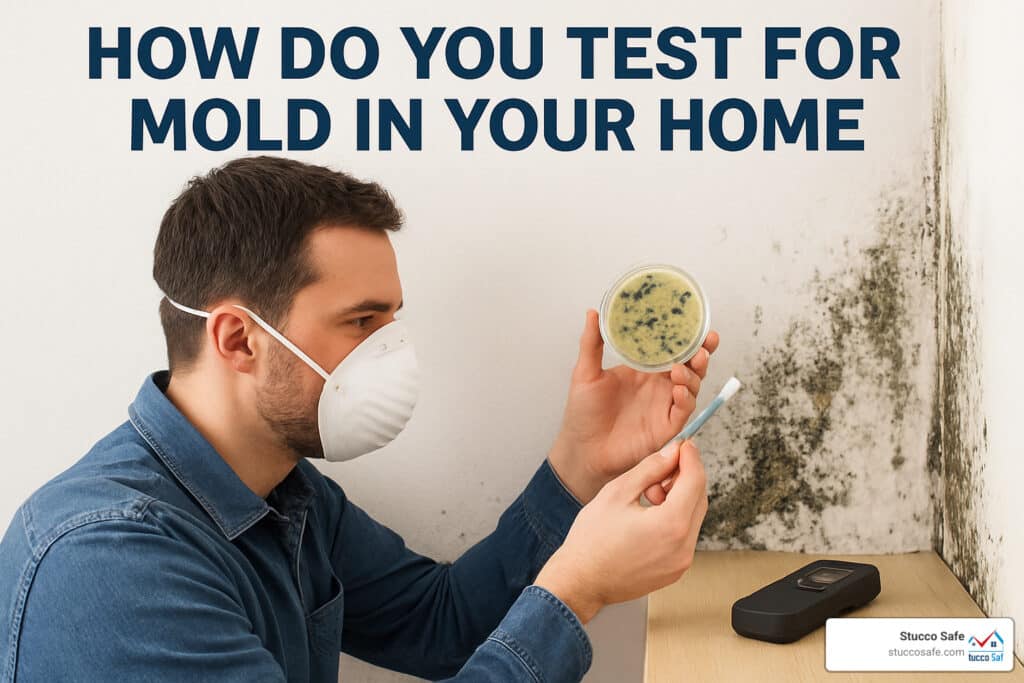
How Do You Test for Mold in Your Home: 3 Proven Powerful Tips 2025
Understanding Mold Testing: What Every Homeowner Should Know
If you’re wondering how do you test for mold in your home, here’s a quick answer:
- Visual Inspection: Look for visible mold growth, water stains, and detect musty odors
- DIY Test Kits: Use home testing kits ($10-$50) that collect air or surface samples
- Professional Testing: Hire certified inspectors who use advanced equipment and lab analysis
Mold is more than just an unsightly problem—it’s a potential health hazard that thrives in damp environments. When moisture meets organic materials like drywall, wood, or carpet, mold can begin growing in as little as 24-48 hours. What makes mold particularly concerning is that it isn’t always visible, often hiding behind walls, under floors, or in your HVAC system.
Testing for mold is essential when you notice musty odors, see water damage, or experience unexplained respiratory symptoms. While some situations call for professional inspection, there are several approaches you can take depending on your circumstances and budget.
I’m Gabe Kesslick, founder of Stucco Safe and a certified Building Envelope Forensic Inspector with over 20 years of experience in leak detection and mold testing. I’ve helped countless homeowners find hidden mold problems through proper testing methods, and I’m here to guide you through how do you test for mold in your home with proven techniques.

Key how do you test for mold in your home vocabulary:
– home inspection basement moisture
Spot the Warning Signs Before You Test
Ever walked into a room and thought, “Something doesn’t smell right”? That musty, earthy odor might be your first clue that mold has moved in. Before you rush to buy a test kit or call professionals, let’s identify the warning signs that suggest mold testing might be necessary.
That persistent musty smell is often mold’s calling card—arriving before visible signs appear. If you’re catching whiffs of it, especially in naturally damp areas, your nose is telling you something important.
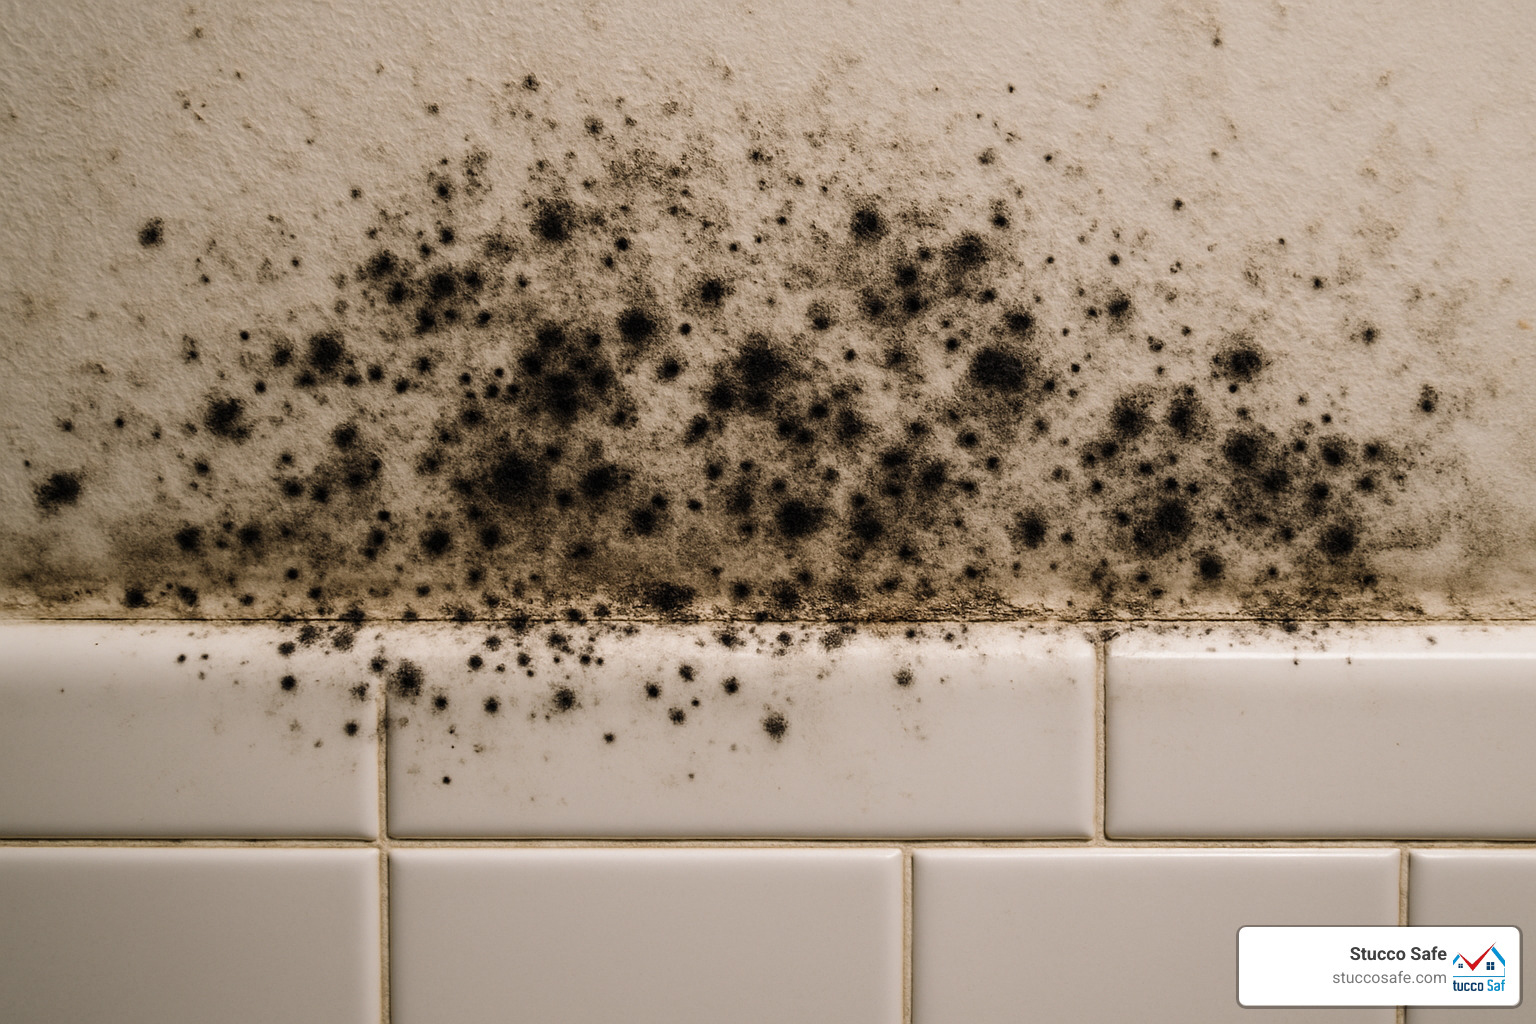
Look for visual clues too. Discoloration on walls or ceilings, water stains, peeling paint, or bubbling wallpaper all indicate moisture where it shouldn’t be—and where there’s excess moisture, mold often follows.
Notice condensation on windows, pipes, or walls? That’s a red flag for high humidity levels. The EPA recommends keeping indoor humidity between 30-50% to prevent mold growth.
Had a recent water event? Whether it was a flooded basement, leaky roof, or burst pipe, mold can begin colonizing damp materials within 24-48 hours—quick action is essential.

Health Red Flags That Suggest Mold
Your body can detect mold even when your eyes can’t. Do you feel better when you leave home and worse when you return? Pay attention to these health signals:
- Respiratory issues: persistent coughing, wheezing, nasal congestion, or sore throat
- Irritation: itchy, watery eyes or unexplained skin rashes
- Other symptoms: headaches, unusual fatigue, or worsening asthma
The CDC’s research confirms that exposure to damp, moldy environments can trigger health issues, particularly for those with allergies or asthma.
Where Mold Loves to Hide
Mold is like an iceberg—what you see is often just a small part of the problem. After inspecting thousands of homes, we’ve become experts at finding mold in its favorite hiding spots:
- Behind drywall, especially after water damage
- Window areas where condensation collects
- Under sinks where slow leaks feed mold colonies
- HVAC systems, particularly drip pans, ducts, and filters
- Behind refrigerators where condensation forms
- Under carpeting, especially in basements
- Attics and crawl spaces with poor ventilation
- Behind furniture placed against exterior walls
In our region, we’ve found a particularly sneaky mold habitat behind stucco exteriors. Moisture can intrude through tiny imperfections and remain trapped for years, creating an ideal environment for mold to thrive completely out of sight.
The scientific research on dampness & health continues to show how important it is to address mold issues promptly—for both your home’s integrity and your family’s wellbeing.
How Do You Test for Mold in Your Home – Three Proven Methods
When it comes to how do you test for mold in your home, you have three reliable approaches. Each method has its strengths and limitations, so understanding your options will help you make the best choice for your situation.
| Testing Method | Cost Range | Pros | Cons | Best For |
|---|---|---|---|---|
| Visual Inspection | Free | No cost, immediate results | May miss hidden mold | Initial assessment |
| DIY Test Kits | $10-$50 | Affordable, can be done anytime | Limited accuracy, no professional guidance | Confirming visible mold |
| Professional Inspection | $400-$3,000 | Comprehensive, accurate, expert analysis | More expensive, scheduling required | Hidden mold, health concerns, real estate transactions |
Important note: there are no federal standards for mold levels in homes. The EPA doesn’t certify mold inspectors, and there’s no established “safe” level of mold. This makes interpreting test results somewhat subjective, which is why using multiple testing methods often gives you the most complete picture.
Visual Inspection: First Line of Defense
A thorough visual inspection should always be your starting point—and it costs nothing. To conduct an effective inspection, gather these basic tools: a flashlight, a mirror on an extendable handle, gloves, and a mask for protection.
Begin by examining high-risk areas like bathrooms, kitchens, basements, and attics. Look for discoloration, water stains, peeling paint, or warped materials. Use your nose to track down musty odors that might indicate hidden problems.
Be thorough by checking behind furniture, under sinks, behind appliances, and along baseboards. Don’t overlook HVAC components either—air filters, ducts, and drain pans can harbor significant mold growth.
For a more sophisticated inspection, consider a moisture meter ($30-$60 at hardware stores). These devices can detect liftd moisture levels before mold becomes visible. A borescope—a small camera on a flexible tube ($30-$100)—can peek inside walls or other hard-to-reach spaces where mold might be lurking.
At-Home Mold Test Kits: When & How to Use Them
DIY mold test kits offer an affordable way to check for mold spores when you want more information than a visual inspection provides. These kits typically use one of three collection methods: petri dishes for airborne spores, adhesive strips for surfaces, or air sampling cassettes.

The most common DIY kits use agar plates—petri dishes containing a growth medium. After exposing the plate to the air for 24-48 hours, you seal it and wait another 48-72 hours for mold colonies to grow. Some kits include mail-in options for laboratory analysis.
For meaningful results, take samples from multiple locations, including one outdoor sample as a control. Follow the manufacturer’s instructions precisely, and document where and when each sample was taken.
Many environmental health experts caution about DIY test limitations. Results only provide a snapshot of conditions at a single moment, and mold concentrations can vary throughout the day, making interpretation challenging without professional guidance.
For those willing to spend more, advanced DIY options include dust sampling kits that use PCR technology to analyze settled dust for mold DNA. These tend to be more accurate but cost more ($100-$300) and usually require laboratory analysis.
Hiring a Professional Mold Inspector
When dealing with large areas of suspected mold, persistent health symptoms, or when buying or selling a home, professional testing provides the most reliable assessment. At Stucco Safe, our certified inspectors use multiple complementary methods to create a comprehensive picture of your home’s mold situation.
Professional inspectors typically employ specialized techniques: air sampling to identify airborne spores, surface sampling using tape lifts and swabs, thermal imaging to identify hidden moisture sources, and detailed moisture mapping. All samples are sent to accredited laboratories for analysis.
When choosing a professional inspector, look for proper credentials from organizations like ACAC (American Council for Accredited Certification) or ISEAI (International Society for Environmentally Acquired Illness). The inspector should have substantial experience and ideally not offer remediation services, which could create a conflict of interest.
A professional inspection typically takes 2-4 hours and costs between $400-$1,500 depending on your home’s size and testing methods used.
The real value of professional testing lies not just in the equipment used, but in the expertise to interpret what the findings mean for your specific situation.
Interpreting Results & Taking Action
So you’ve tested for mold—now what? Understanding your results is where the rubber meets the road.
If you’ve done a visual inspection, the EPA offers a straightforward guideline: the 10 square foot rule. If your moldy area is smaller than about 10 square feet (roughly a 3 ft × 3 ft patch), you can typically handle the cleanup yourself with proper precautions. Anything larger, and it’s time to call in professionals.

DIY test kit results can be trickier to interpret. Almost all kits will show some mold growth because mold spores are everywhere. What matters is how your indoor samples compare to your outdoor control sample. If you’re seeing significantly more mold indoors or different types of mold, that’s when you should take notice.
Professional test results typically include spore counts per cubic meter of air, identification of specific mold types, comparisons to outdoor samples, and moisture measurements.
Important fact: there are no federally established “safe” levels of mold. Even dead mold can trigger allergic reactions, so simply killing mold with bleach isn’t enough—it needs to be physically removed.
Positive Test? Step-by-Step Response Plan
If you’ve confirmed a mold problem, here’s your game plan:
- Identify and fix the moisture source – This is critical—skip this step, and the mold will return.
- Isolate the affected area with plastic sheeting for smaller jobs.
- Protect yourself with at minimum an N95 respirator, gloves, and eye protection.
- Clean appropriately: Non-porous surfaces can be scrubbed with detergent and water, then thoroughly dried. Porous materials like carpeting, drywall, or insulation may need to be removed and replaced.
- Dry everything thoroughly using dehumidifiers and fans.
- Document the process with photos for insurance purposes.
- Consider post-remediation testing to confirm success.
When to Call in Full Remediation
While DIY approaches work for small problems, call professionals when:
- The moldy area is larger than 10 square feet
- You find mold inside your HVAC system
- The problem resulted from contaminated water like sewage backups
- You have underlying health conditions or compromised immune systems
- You’ve attempted remediation before without success
- You suspect hidden mold within wall cavities or under flooring
- You’re in a real estate transaction
Professional remediation follows industry standards and typically includes containment, air filtration, removal of contaminated materials, thorough cleaning, and verification testing.
Common Misconceptions About Mold Testing
Let’s bust some common mold myths:
- Bleach kills all mold completely – While bleach can kill surface mold on non-porous materials, it doesn’t penetrate porous surfaces where mold roots grow. The water in bleach can actually provide more moisture for new growth.
- All black mold is toxic “black mold” – Many types of mold appear black without being Stachybotrys chartarum. Color alone cannot identify mold species.
- Mold testing can determine if your symptoms are caused by mold – While testing confirms mold presence, establishing a direct link to specific health symptoms requires medical evaluation.
- Ozone generators effectively remove mold – Despite marketing claims, ozone generators are not effective for mold remediation and can be harmful to health.
- Once you’ve cleaned visible mold, your problem is solved – Unless you’ve addressed the moisture source, mold will likely return.
Stop Mold at the Source: Moisture Investigation & Prevention
Think of moisture as mold’s best friend. Without water, mold simply can’t grow or spread. That’s why at Stucco Safe, we always tell clients, “Fix the moisture, and you fix the mold problem.”
Controlling moisture in your home isn’t just about preventing mold—it also protects your investment and creates a healthier living environment. Here are practical ways to keep your home dry and mold-free:
Maintain proper indoor humidity between 30-50%—a dehumidifier can be your best ally, especially in naturally damp areas like basements. This is particularly important in our service region of Southeastern Pennsylvania, New Jersey, and Delaware, where summer humidity can create perfect conditions for mold growth.
Ensure good ventilation to move moisture out before it causes problems. Make sure bathroom and kitchen exhaust fans vent completely to the outside. After showering or cooking, run these fans for at least 20 minutes.

Manage exterior water by ensuring soil slopes away from your house. Clean gutters regularly and make sure downspouts extend at least 5 feet from your foundation. These simple steps can prevent thousands in water damage repairs.
Regularly inspect potential leak sources including your roof and flashing, windows and doors, plumbing fixtures, and appliance hoses. For homes with stucco or EIFS (Exterior Insulation and Finish Systems), professional inspections are particularly valuable since moisture problems can hide behind these surfaces.
Control condensation by insulating cold water pipes, adding proper insulation to exterior walls, and considering upgraded windows to keep surfaces warmer.
If you experience a water event like a burst pipe or flooding, act quickly. The 24-48 hour window is critical before mold starts growing. Use fans and dehumidifiers to speed up drying.
For areas with previous moisture issues, regular monitoring with a moisture meter can catch problems early. These tools are affordable and easy to use.
At Stucco Safe, our moisture intrusion detection services go beyond what you can see. We use thermal imaging cameras to detect temperature differences that might indicate hidden moisture, and professional-grade moisture meters to confirm findings without unnecessary demolition. According to the EPA’s research on indoor humidity, maintaining proper moisture levels is one of the most effective ways to improve indoor air quality.
Preventing mold is almost always less expensive and less disruptive than dealing with an established problem. A small investment in prevention today can save thousands in remediation costs tomorrow—not to mention protecting your family’s health.
Frequently Asked Questions About Home Mold Testing
Do I need to identify the exact mold species?
For most situations, knowing the exact mold species isn’t essential for effective cleanup. The CDC recommends treating all molds with similar caution regardless of type.
However, identifying specific mold types becomes valuable when:
– You’re experiencing unusual or severe health symptoms
– Filing insurance claims that require detailed documentation
– Dealing with legal situations where specific evidence strengthens your case
– Working with historic buildings where conservationists need precise information
In my two decades with Stucco Safe, knowing whether you’re dealing with common Aspergillus/Penicillium or less common types like Stachybotrys can help prioritize your response, but the fundamental approach remains the same: fix the moisture source first, then remove the mold properly.
Are DIY kits accurate enough for rentals or real estate deals?
For formal situations like property transactions or landlord-tenant issues, DIY test kits simply don’t provide the reliability or documentation needed.
Professional testing offers several advantages:
– Professionals maintain a proper chain of custody for samples
– They use regularly calibrated equipment that provides more accurate results
– Professional inspectors employ multiple complementary testing methods
– Trained inspectors can interpret results in the context of your specific situation
If you’re a tenant concerned about mold, start by documenting any visible growth with photos and notify your landlord in writing. For home buyers or sellers, professional mold inspection can prevent future disputes and provide peace of mind.
Can I rely on mold counts to judge safety?
There are no government-established numerical standards for “safe” mold levels in homes. Instead of fixating on specific numbers, consider these practical factors:
- Indoor vs. outdoor comparison – Indoor mold counts should generally be lower than outdoor counts
- Species composition – The types of mold found indoors should generally mirror what’s outside
- Individual sensitivity varies tremendously between people
- Visible growth trumps air testing – If you can see mold growing, you have a moisture problem that needs fixing
The most reliable approach is to control moisture, remove visible mold properly, and address any water intrusion issues, regardless of specific counts or types of mold present.
Conclusion
After exploring mold testing, one thing becomes clear—you don’t need to feel overwhelmed by this process. With the right knowledge about warning signs, testing options, and moisture control, you can take charge of potential mold issues with confidence.
Let’s recap what we’ve learned:
Excess moisture is the root cause of mold problems. Where there’s persistent dampness, mold usually follows. That’s why your initial visual inspection is so valuable—it costs nothing but can reveal so much.
While DIY test kits have their place, they come with limitations. They provide a snapshot, but rarely tell the complete story of what’s happening in your home.
For peace of mind, especially with hidden mold or persistent health concerns, professional testing truly shines. At Stucco Safe, we’ve seen countless situations where professional equipment detected issues that would have otherwise gone unnoticed until becoming much bigger problems.
There’s no magic number that defines “safe” mold levels—our goal is always to address the moisture source and remove existing mold, regardless of type or quantity.
Prevention through moisture control remains your most powerful tool. A good dehumidifier, proper ventilation, and regular maintenance checks can save thousands in potential remediation costs.
At Stucco Safe, we’ve dedicated ourselves to uncovering hidden moisture and mold problems, with special expertise in stucco homes where water issues can lurk undetected for years. Our certified inspectors don’t just identify mold—we track down its source using forensic testing methods, allowing for targeted solutions rather than guesswork.
If you’re in Southeastern Pennsylvania, New Jersey, or Delaware and have concerns about potential mold or moisture issues, we’re here to help. Our thorough inspections start at $495 and include detailed, actionable reports that make sense of your situation.
Don’t wait until you see visible mold growth or until it affects your family’s health. A proactive approach to how do you test for mold in your home protects both your loved ones and your investment.