How to paint stucco house: Ultimate 5-Step Guide
Why Painting Your Stucco House Is a Smart Investment
Learning how to paint stucco house properly can transform your home’s appearance while protecting your investment. Here’s the essential process:
Quick Steps to Paint Stucco:
- Clean and inspect – Pressure wash at under 1,500 PSI and check for damage
- Repair issues – Fill cracks with elastomeric caulk and patch holes
- Prime the surface – Use masonry primer on bare or porous stucco
- Apply paint – Use breathable acrylic paint with a sprayer or thick-nap roller
- Back-roll – Work paint into texture for uniform coverage
- Second coat – Apply after first coat fully dries (24 hours)
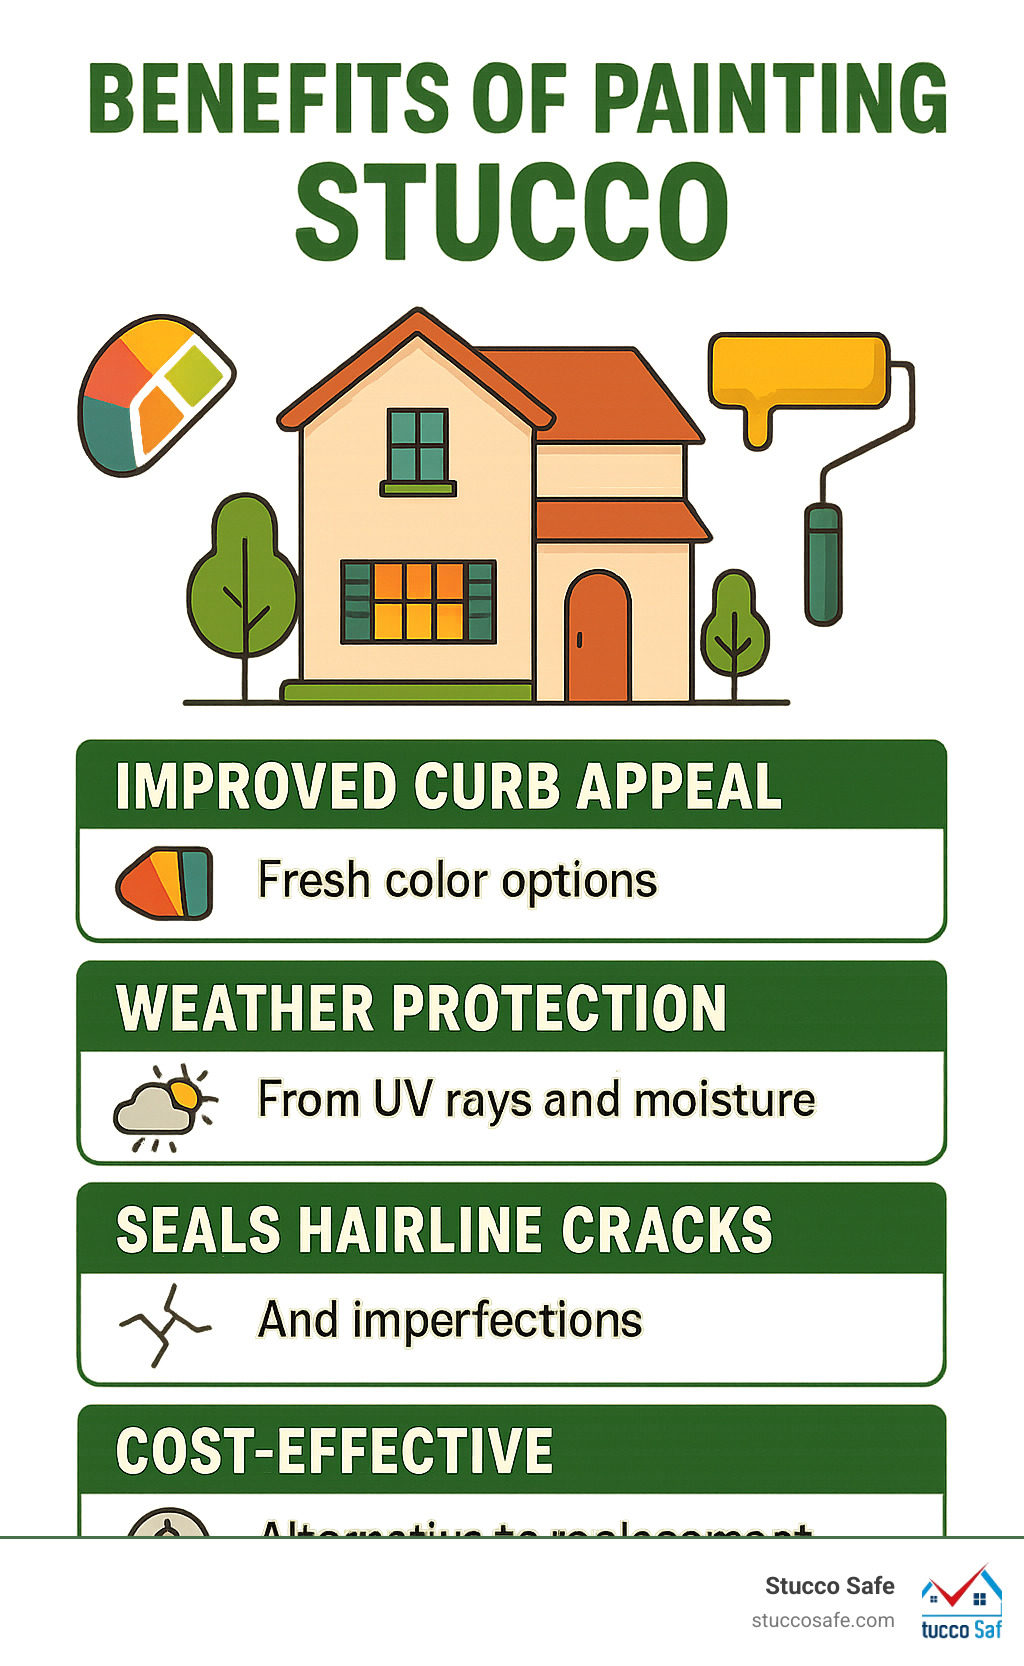
Painting stucco offers several compelling benefits for homeowners. Fresh paint dramatically improves curb appeal, potentially increasing your home’s value and making it more attractive to buyers. The paint acts as a protective barrier against moisture, UV rays, and temperature swings that can damage the underlying stucco over time.
Most importantly, paint can seal minor hairline cracks and imperfections, preventing water infiltration that could lead to costly structural damage. However, it’s crucial to ensure your stucco is in good condition before painting – sealing moisture inside damaged stucco can create far worse problems.
The key is using breathable, high-quality acrylic paint that allows moisture vapor to escape while keeping liquid water out. Stucco typically requires 30-50% more paint than other surfaces due to its porous, textured nature.
I’m Gabe Kesslick, a certified stucco inspector with over two decades of experience in leak detection and stucco systems. Through my work with Stucco Safe, I’ve seen why understanding how to paint stucco house correctly is essential – improper techniques can trap moisture and cause hidden damage that costs homeowners thousands in repairs.
Understanding Stucco and Initial Inspection
Before you start thinking about color swatches and paintbrushes, let’s get to know stucco itself. Understanding what you’re working with is crucial for learning how to paint stucco house properly.
Stucco is essentially a cementitious plaster – a mixture of cement, sand, lime, and water that’s applied wet and hardens into a durable surface. What makes stucco special is that it’s both porous and breathable, allowing moisture vapor to pass through naturally. This breathability isn’t just a nice feature – it’s essential for preventing moisture from getting trapped inside your walls. You can learn more about the basics at What is stucco?.
When it comes to stucco types, you’ll encounter two main varieties. Traditional stucco (also called hard coat stucco) is the classic version applied over metal mesh. It’s solid and durable. Synthetic stucco, known as EIFS (Exterior Insulation Finishing System), includes insulation layers and feels softer to the touch.
Here’s a simple way to identify your stucco type: give your wall a gentle knock. Traditional stucco will sound solid and firm, while EIFS typically sounds hollow due to the insulation layer underneath.
Now comes the serious part. A professional inspection is absolutely critical before painting, especially if you haven’t had one in the past two years. Stucco problems often hide beneath the surface, invisible to the naked eye. Painting over hidden moisture damage can trap water inside, turning a manageable issue into a financial disaster.
At Stucco Safe, we’ve seen homeowners face repair costs in the hundreds of thousands because moisture problems weren’t caught early. Our certified inspectors use forensic testing methods to detect these hidden issues. Stucco inspections vary in cost from $495 to $1595 or more for very large homes – a small investment compared to potential remediation costs. Learn more about Moisture Problems with Stucco.
If your stucco is brand new, patience is key. New stucco needs at least 60 days to properly cure before painting. Some primers claim you can paint in 7-14 days, but rushing this process often leads to problems later. Trust me – waiting is worth it.
How to Identify and Treat Common Stucco Issues
Before any paint touches your walls, we need to play detective. Identifying existing problems now saves you headaches later.
Efflorescence is one issue you’ll commonly see – those white, powdery deposits that appear on stucco surfaces. Think of it as your stucco’s way of saying “I’m getting wet!” This happens when water carries salts through the stucco, leaving white residue as it evaporates. You must remove efflorescence before painting by washing the wall multiple times daily for 3-4 days or using specialized masonry cleaners.
Cracks are stucco’s most common complaint. Not all cracks are created equal, though. Hairline cracks (less than 1/16-inch wide) are usually minor surface issues that can be sealed with elastomeric caulk and covered with paint. Wide cracks (¼-inch or larger) tell a different story entirely – they often signal structural movement or moisture problems that need professional attention.
You can learn more about different crack types at Stucco Cracks.
Watch for these warning signs that indicate serious problems: dark staining on your exterior walls, damp spots on interior drywall, or mold appearing on inside walls. These symptoms suggest water is getting trapped behind the stucco – a situation where painting will make things worse, not better.
If you notice bubbling stucco or large sections peeling away, stop right there. These are red flags that require professional evaluation before any painting begins. Check out our guide on Bubbling Stucco: A Guide to Prevention and Repair for more details.
Painting over serious stucco damage is like putting a band-aid on a broken bone – it might look better temporarily, but the underlying problem will only get worse.
The Ultimate Guide on How to Paint a Stucco House: A 5-Step Process
Ready to transform your home’s exterior? Now that we’ve laid the groundwork with proper inspection and issue identification, it’s time for the exciting part – actually painting your stucco! While how to paint stucco house projects require more effort than painting smooth surfaces, the results are incredibly rewarding.
Our proven five-step process takes you from preparation through final cleanup and maintenance planning. Each step builds on the previous one, ensuring a professional-quality finish that protects your investment for years to come.
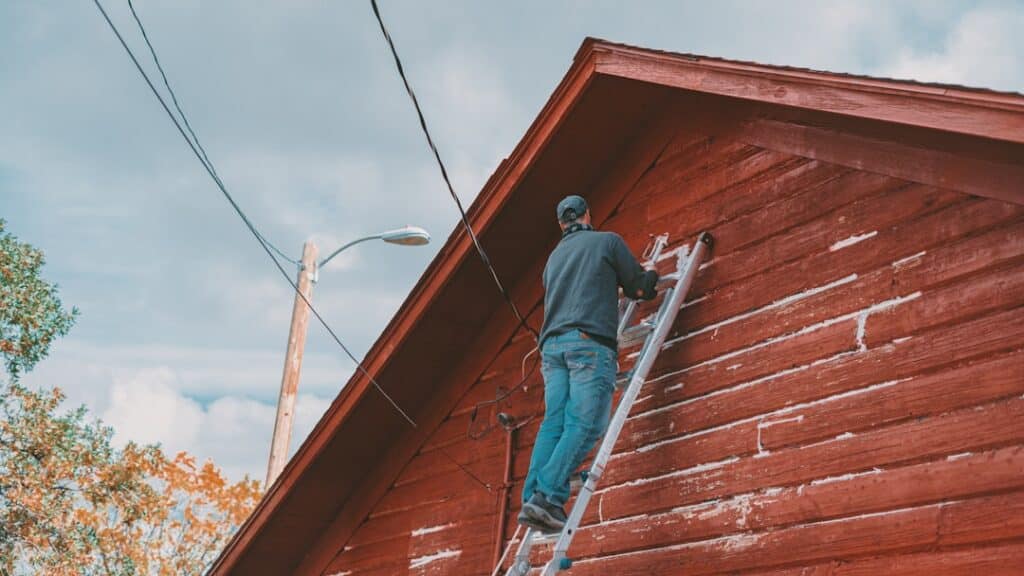
Before we dive in, let’s talk safety and timing. Always wear proper safety gear – eye protection, gloves, and a respirator when spraying. When working at heights, double-check that your ladders or scaffolding are stable and secure. Trust me, a beautiful paint job isn’t worth a trip to the emergency room!
Weather conditions can make or break your project. The sweet spot for painting stucco is between 50°F and 90°F in dry conditions. Avoid painting in direct sunlight or on scorching hot days – the paint dries too quickly, creating lap marks and poor adhesion. High humidity or incoming rain can also ruin your hard work, so always check the forecast before starting.
Step 1: How to Prepare Stucco for Painting
Here’s where patience pays off big time. Proper preparation is absolutely critical when learning how to paint stucco house techniques. Skip this step, and you’ll likely see peeling, blistering, and premature paint failure.
Start with a thorough cleaning to remove dirt, grime, loose paint, mold, and mildew. A pressure washer is your best friend here, but treat your stucco gently! Keep the pressure under 1,500 PSI and stay at least 24 inches from the surface. Use a wide-angle nozzle (25 or 40-degree tip) with a stucco-safe cleaning solution.
For stubborn stains, grab a soft-bristled brush and scrub carefully. After washing, let your stucco dry completely – this usually takes 24 to 48 hours depending on weather conditions. Rushing this step is a recipe for paint adhesion problems.
Next comes repair work, which is crucial for a lasting finish. Hairline cracks (less than 1/16-inch wide) get filled with high-quality exterior-grade elastomeric caulk. For a professional look that blends seamlessly, consider sanded stucco and concrete caulk. Fill the entire crack, then gently blend with a wet sponge and old paintbrush to avoid creating obvious smooth lines. Our detailed guides on How to Repair Stucco and Repair Small Cracks in Stucco walk you through these techniques.
For larger holes or chipped areas, you’ll need stucco patching compound. Remove loose material first, apply the patch in thin layers, and texture the final layer to match surrounding stucco. If you find wide cracks (¼-inch or more) or significant flaking, it’s wise to consult a professional stucco repair specialist before proceeding.
Finally, protect everything you don’t want painted! Use painter’s tape to mask windows, doors, trim, and light fixtures. Cover plants, walkways, and other surfaces with drop cloths or plastic sheeting. This extra effort now saves hours of cleanup later.
Step 2: Choosing the Right Paint, Primer, and Tools
Selecting the right materials is crucial for stucco success. Because stucco is naturally porous and breathable, your paint must also be breathable to allow moisture vapor to escape. Using the wrong paint can trap moisture, leading to mold, mildew, and serious structural damage.
Here’s how the main paint types stack up for stucco:
| Paint Type | Pros | Cons | Best For |
|---|---|---|---|
| Acrylic Latex | Durable, flexible, breathable, affordable, wide color range, allows moisture vapor to escape, excellent color retention | Less ability to bridge large cracks than elastomeric | Most stucco applications, general exterior painting, ensuring breathability |
| Elastomeric | Very flexible, bridges hairline cracks (up to 1/16 inch), highly waterproof, longer lifespan (3-7 years more than acrylic), can mask minor imperfections | Low permeability (can trap moisture if underlying issues exist), 50% more expensive, 30% more application time, once used, future coats must also be elastomeric | Wet/humid climates, stucco with numerous hairline cracks, provided there are no underlying moisture issues |
| Masonry | Specifically designed for cement, concrete, brick, and stucco surfaces, often contains bonding agents and mildew resistance | Breathability can vary by brand; some may be less flexible than 100% acrylic | General masonry surfaces, new stucco, providing a durable, specialized finish |
For most projects, we recommend high-quality, 100% acrylic latex exterior paint. It offers the perfect balance of durability, flexibility, and that crucial breathability stucco needs.
When choosing sheen, less is more with textured surfaces. A flat or low-gloss finish works best, helping mask imperfections while giving your home a natural, sophisticated appearance. High-gloss finishes highlight every little flaw and can create an unappealing “candy-coated” look.
Primer is absolutely essential for unpainted or very porous stucco. It seals the surface, creates uniform coverage, promotes excellent paint adhesion, and prevents chemical reactions between stucco and paint. For stucco, use an acrylic masonry primer or masonry conditioner/sealer – it’s flexible, breathable, and designed specifically for porous surfaces.
Your tool arsenal should include an airless sprayer (highly recommended for large areas), rollers with thick nap (3/4-inch to 1-inch or even 1.5-inch for very rough stucco), brushes for cutting in around trim, an extension pole for safe reach, appropriate ladders or scaffolding, comprehensive drop cloths and plastic sheeting, plus all the usual painting supplies like trays, buckets, and stir sticks. Don’t forget your safety gear – goggles, gloves, and respirator.
Step 3: Priming and Applying the First Coat
Now we’re getting to the change! This is where your careful preparation starts paying off with visible results.
If you’re painting bare stucco or working over chalky, significantly faded paint, applying masonry primer is non-negotiable. Use a roller with thick nap to work the primer into all those textures and crevices. For edges and tight spots, switch to a brush. Cover every square inch, then let the primer dry completely – typically around 24 hours according to manufacturer instructions. This creates the solid foundation your paint needs.
Time for the main event – applying the first coat of paint! Whether you’re spraying or rolling, the secret is working efficiently while maintaining a “wet edge.” This means always painting into sections that are still wet, preventing those unsightly lap marks that scream “amateur job.”
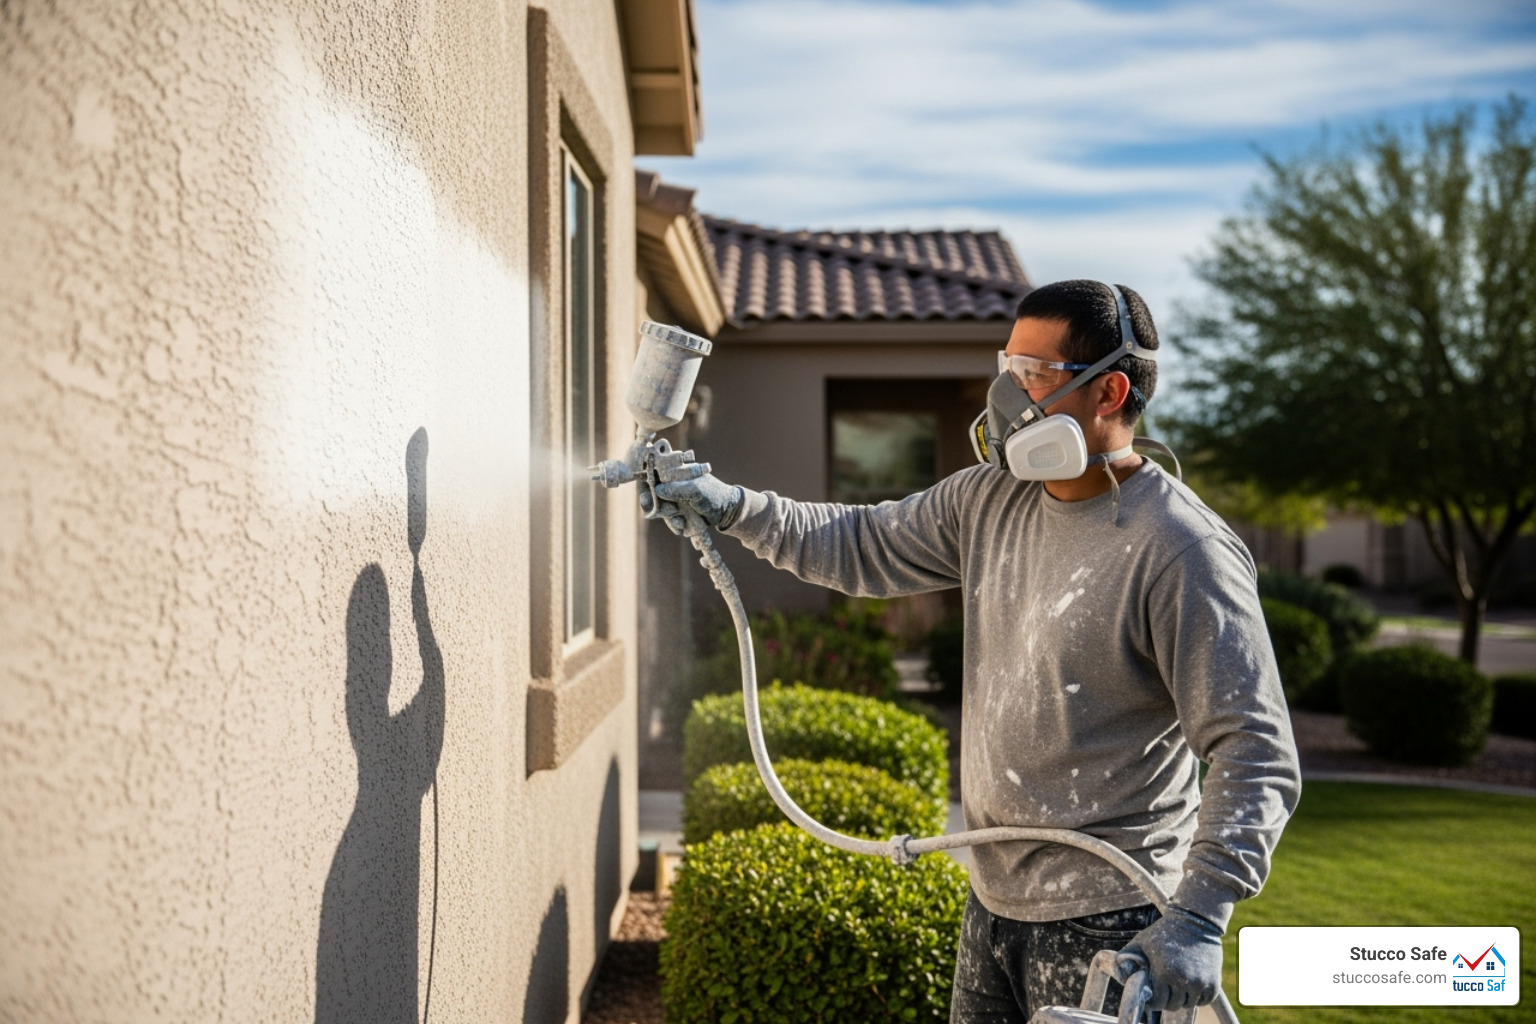
With an airless sprayer (which we strongly recommend for stucco), hold the nozzle about 12 inches from the surface and move in smooth, overlapping passes with about 50% overlap. For heavily textured stucco, spray from multiple angles to ensure complete coverage in all those nooks and crannies.
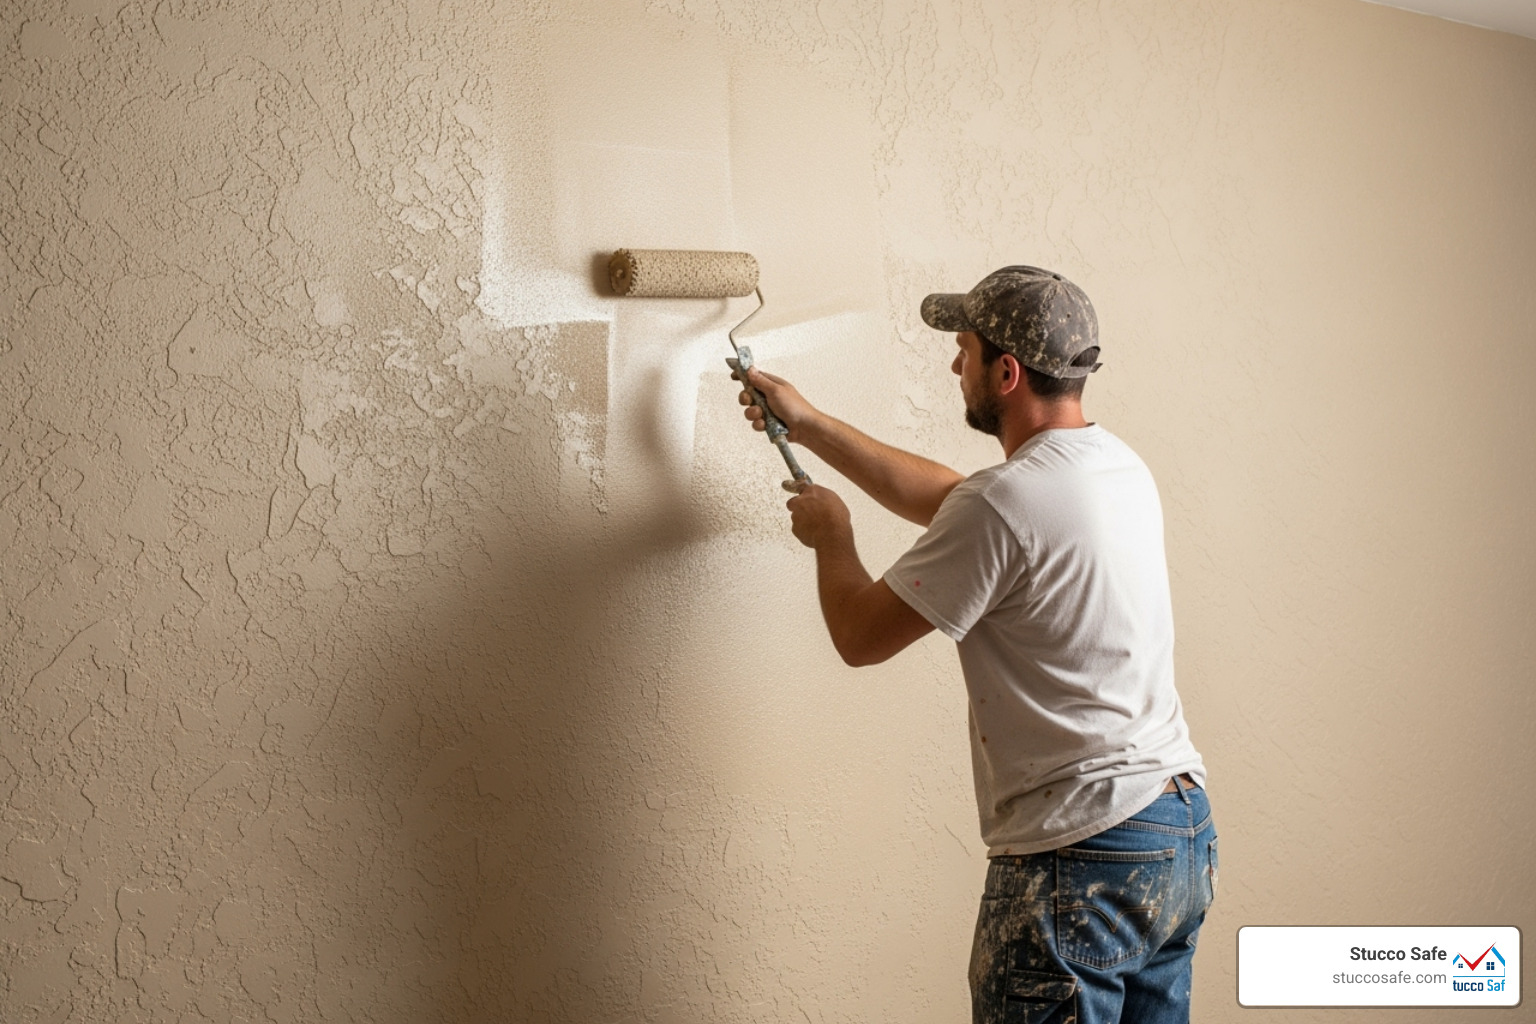
If you’re rolling, use that thick-nap roller and apply paint in a “W” or “N” pattern, then fill it in. Make sure you’re pushing paint into all the stucco’s grooves and valleys. Work in manageable sections – roughly 3×3 or 4×4 feet – to maintain that crucial wet edge.
Here’s something many DIYers don’t expect: stucco is incredibly thirsty! It absorbs 30 to 50 percent more paint than smooth surfaces. When calculating paint needs, figure about 1 gallon per 200 square feet, but add an extra 25% for the first coat and 10% more for subsequent coats. Running out of paint mid-job is frustrating and can create color matching issues.
Step 4: Back-Rolling and Applying the Second Coat
This step separates amateur results from professional-quality finishes. Back-rolling is the technique that ensures your paint job looks uniform and lasts for years.
What exactly is back-rolling? It’s immediately following your sprayer application with a roller. As you spray a section, either a helper or you (on smaller areas) follows right behind with a thick-nap roller, working that wet paint deep into the stucco’s texture. This pushes paint into tiny pinholes and crevices, ensures excellent adhesion, and smooths out any inconsistencies from the sprayer.
While back-rolling is especially critical for the first coat to maximize penetration and adhesion, it’s also beneficial for subsequent coats to achieve that perfectly even finish.
Most stucco projects need two coats for optimal coverage, durability, and rich color. If you’re making a dramatic color change or working with very rough stucco, you might need a third coat.
After your first coat and back-rolling are complete, patience is essential. Let everything dry completely – usually around 24 hours, but always check the manufacturer’s recommendations. Applying the second coat too soon can cause bubbling, poor adhesion, and uneven coverage.
Apply your second coat using the same methods – spraying and back-rolling, or just rolling. As you work, step back frequently and inspect from different angles. The changing light throughout the day reveals missed spots or thin areas that need quick touch-ups. Catching these issues now saves major headaches later!
Step 5: Cleanup and Maintenance
You’re in the home stretch! With painting complete, it’s time for final touches and planning to keep your stucco looking fantastic for years.
Once your second coat has dried completely (check manufacturer guidelines for full cure times), carefully remove all painter’s tape. Pull slowly at a 45-degree angle to ensure clean lines without pulling off fresh paint.
Thorough tool cleanup comes next. Clean your sprayer, rollers, and brushes immediately after use. Water-based acrylic paints clean easily with soap and water, and proper cleaning keeps your tools ready for future projects. Dispose of used drop cloths, plastic sheeting, and paint cans according to local regulations.
Now let’s talk about maintaining your beautiful new paint job. Painted stucco is durable but benefits from regular care. Wash your stucco surfaces two or three times yearly to remove dirt and stains. Use gentle hose spray or very low-pressure washing (under 1,000 PSI) with mild detergent. Avoid harsh chemicals or stiff brushes that could damage the paint.
Annual inspections are smart investments in your home’s appearance and value. Look for signs of wear, chipping, or new cracks. Promptly touching up small areas prevents them from becoming larger, more expensive problems.
With proper care and quality materials, your painted stucco should last 5 to 10 years before needing a fresh coat. That’s excellent value for the investment in time and materials! For more insights on keeping your stucco in top condition, check out Does Stucco Exterior Require Maintenance?.
Frequently Asked Questions about Painting Stucco
After helping countless homeowners with their stucco projects, I’ve noticed the same questions come up again and again. Let me share some insights that can save you time, money, and frustration when learning how to paint stucco house properly.
What are the most common mistakes to avoid when painting stucco?
In my two decades of stucco inspection work, I’ve seen some real painting disasters. The good news? They’re all preventable with the right knowledge.
Painting over dirty or damaged stucco is by far the biggest mistake I see. It’s like putting makeup over dirt – it might look okay at first, but it won’t last. Paint simply won’t stick to a dirty surface, and worse, you’ll trap moisture behind the paint film. This creates the perfect environment for mold and accelerated deterioration.
Using the wrong type of paint is another costly error. Oil-based paints are a complete no-go for stucco because they create an impermeable barrier that traps moisture. Even with elastomeric paints, you need to be careful – while they’re great for bridging small cracks, their low permeability can cause problems if there are underlying moisture issues. That’s why I typically recommend high-quality 100% acrylic latex paint for most stucco applications.
Skipping primer on bare stucco is like trying to paint on a sponge. Stucco’s porous nature means it will absorb paint unevenly, leading to a blotchy, unprofessional appearance and poor adhesion.
I’ve also seen homeowners apply paint too thickly, thinking more is better. While stucco does absorb more paint than other surfaces, slathering it on can cause runs, uneven drying, and actually reduce the paint’s breathability – one of its most important features.
Finally, not allowing proper cure time is a patience test many fail. New stucco needs at least 60 days to cure properly, and significant repairs need 7-10 days minimum. I know it’s tempting to rush, especially when you’re excited about the change, but cutting corners here can compromise your entire project.
What are the best paint colors for a stucco house?
Color selection can make or break your home’s curb appeal, and with stucco, there are some practical considerations beyond just personal preference.
Light Reflective Value (LRV) is your friend, especially in hot climates. Colors with higher LRV reflect more UV rays, which helps your paint last longer and can even reduce cooling costs. This is particularly important for stucco homes in sunny regions.
Neutral colors remain the most popular choice for good reason. Shades like warm beige, creamy off-white, soft gray, and light brown create a timeless, sophisticated look that complements most architectural styles. These colors also tend to show dirt and imperfections less than stark white or very dark colors.
Earth tones work beautifully with stucco’s natural texture. Think warm tans, adobe-inspired oranges, and sage greens that blend harmoniously with landscaping. These colors feel organic and are especially popular in Southwestern and Mediterranean-style homes.
Don’t be afraid to use bold colors for accents. While your main walls should typically be painted with flat or low-gloss finishes in more subdued tones, trim, shutters, and architectural details can handle richer colors like deep blues, charcoal grays, or even dramatic blacks for a modern contrast.
For more inspiration and specific color recommendations, check out our comprehensive guide on Stucco Colors.
When should I hire a professional instead of DIY?
While I’m all for DIY projects, there are definitely times when calling in professionals is the smarter – and safer – choice.
Large or multi-story homes present significant challenges for DIY painters. Beyond the obvious safety concerns of working at heights, you’ll need specialized equipment like scaffolding or lifts that can be expensive to rent and dangerous to use without proper training. The sheer physical demands and time commitment can also be overwhelming for homeowners.
Significant damage finded during inspection is a major red flag for DIY projects. If you find wide cracks (¼ inch or more), extensive flaking, or areas where stucco is pulling away from the wall, these issues require professional stucco repair that goes far beyond simple caulking. Attempting complex repairs without proper expertise often makes problems worse and more expensive to fix later.
Lack of proper equipment can seriously compromise your results. Quality airless sprayers, thick-nap rollers designed for textured surfaces, and comprehensive safety gear represent a significant investment. If you don’t have the right tools, you’re unlikely to achieve professional-quality results.
Most importantly, if a professional stucco inspection reveals underlying moisture issues, painting becomes the wrong solution entirely. This is where my expertise with Stucco Safe becomes crucial. Our certified inspectors use forensic testing methods to detect hidden moisture problems that aren’t visible on the surface. If we find evidence of water intrusion, structural damage, or other serious issues during a Stucco Inspection, painting will only trap the moisture and accelerate the damage.
These inspections cost between $495 and $1,595 for very large homes – a small investment compared to the hundreds of thousands in remediation costs that can result from painting over hidden problems. We serve homeowners throughout Southeastern Pennsylvania, New Jersey, and Delaware, helping them make informed decisions about their stucco systems before they invest in painting or other cosmetic improvements.
A beautiful paint job on compromised stucco is like putting a band-aid on a broken bone – it might look better temporarily, but it won’t solve the underlying problem and may make it much worse.
Conclusion
Congratulations! You’ve now mastered how to paint stucco house like a pro. This comprehensive approach will transform your home’s appearance while protecting one of your biggest investments. The secret to a stunning, long-lasting finish isn’t in expensive equipment or premium paint alone – it’s in the meticulous preparation and patience you bring to each step.
The beauty of stucco painting lies in the details. Taking time to properly clean, repair, and prime your stucco creates the foundation for a paint job that will look gorgeous for years to come. Rushing through preparation or skipping steps might save you a weekend, but it could cost you thousands in premature repainting or, worse, hidden moisture damage.
Here’s what separates a good paint job from a great one: understanding that stucco is a living, breathing material. Choosing breathable acrylic paint and applying it in thin, even coats allows your stucco to continue doing what it does best – protecting your home while letting moisture vapor escape naturally.
But here’s the crucial point we can’t stress enough: a beautiful paint job on compromised stucco is like putting makeup on a broken foundation. It might look good initially, but the underlying problems will eventually surface – often in expensive and dramatic ways. Before you invest time and money in painting, ensure your stucco system is truly sound.
At Stucco Safe, we’ve seen too many homeowners find costly moisture damage after painting over warning signs they didn’t recognize. Our forensic testing methods and certified inspectors can detect hidden issues that aren’t visible to the untrained eye. With inspections ranging from $495 to $1595 for larger homes, it’s a small investment compared to the potential cost of major stucco remediation.
Whether you tackle this project yourself or hire professionals, you’re making a smart choice for your home’s value and protection. For a deeper understanding of stucco systems and maintenance, explore our comprehensive guide to the Stucco House. Your freshly painted stucco home will thank you for years to come!


