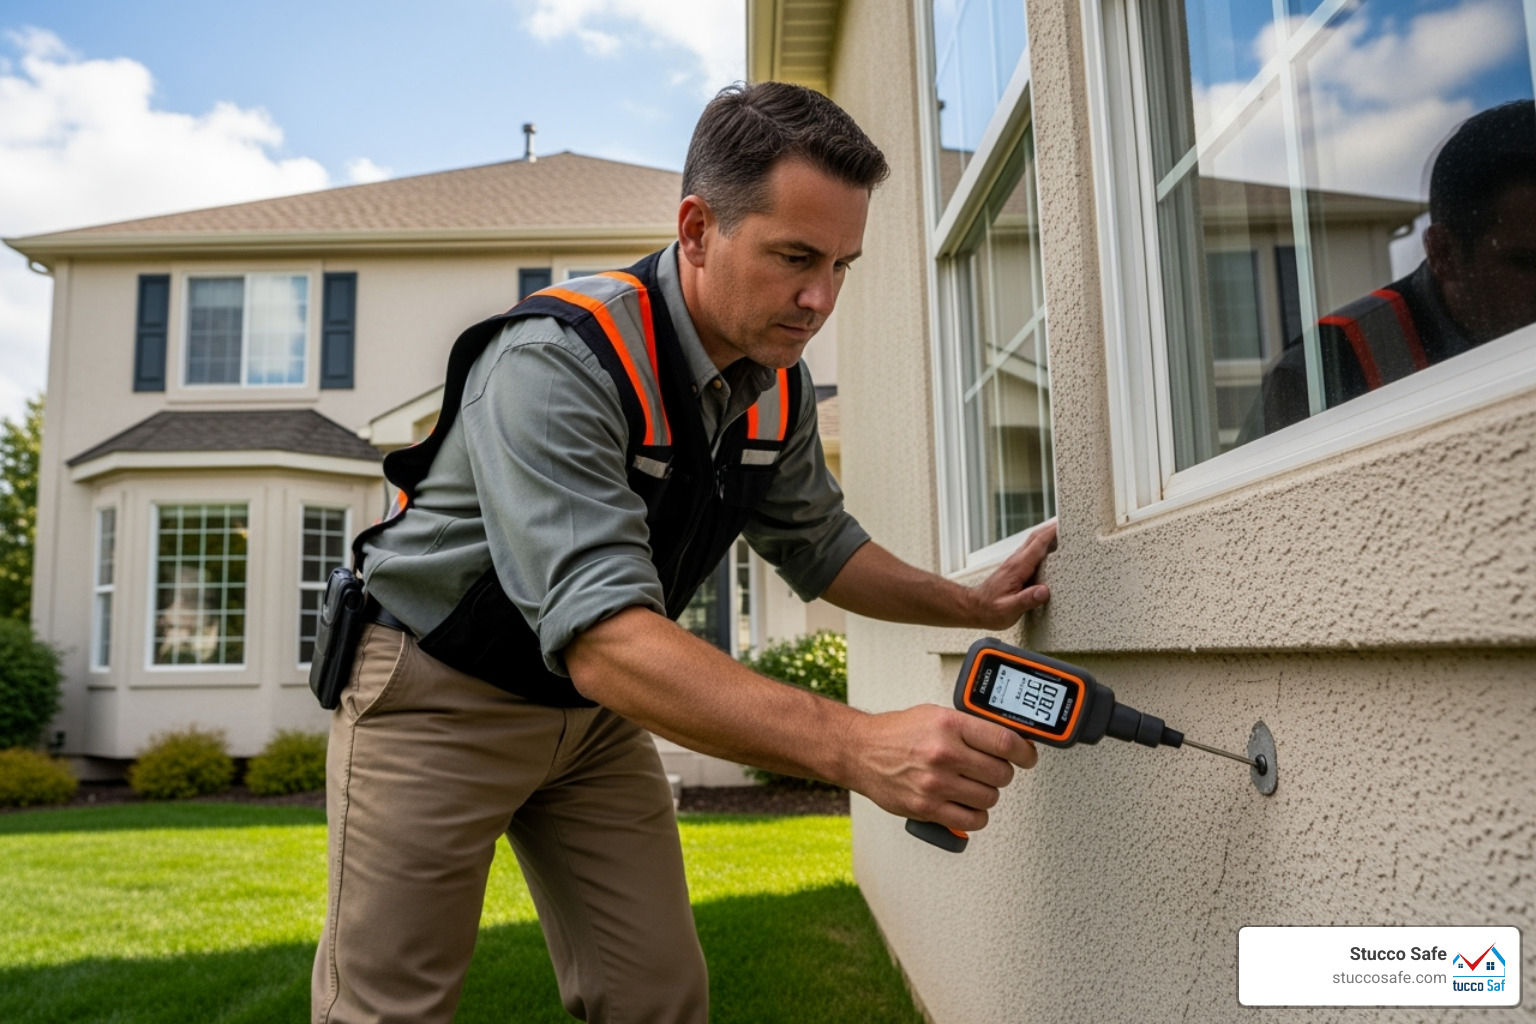
Stucco Screw Anchors: Perfect & Safe 2025 Guide
Why Your Stucco Walls Need Special Fasteners
Stucco screw anchors are specialized fasteners designed to penetrate stucco’s hard, cement-based surface without causing cracks or damage. Here’s what you need to know:
Best Stucco Screw Anchor Options:
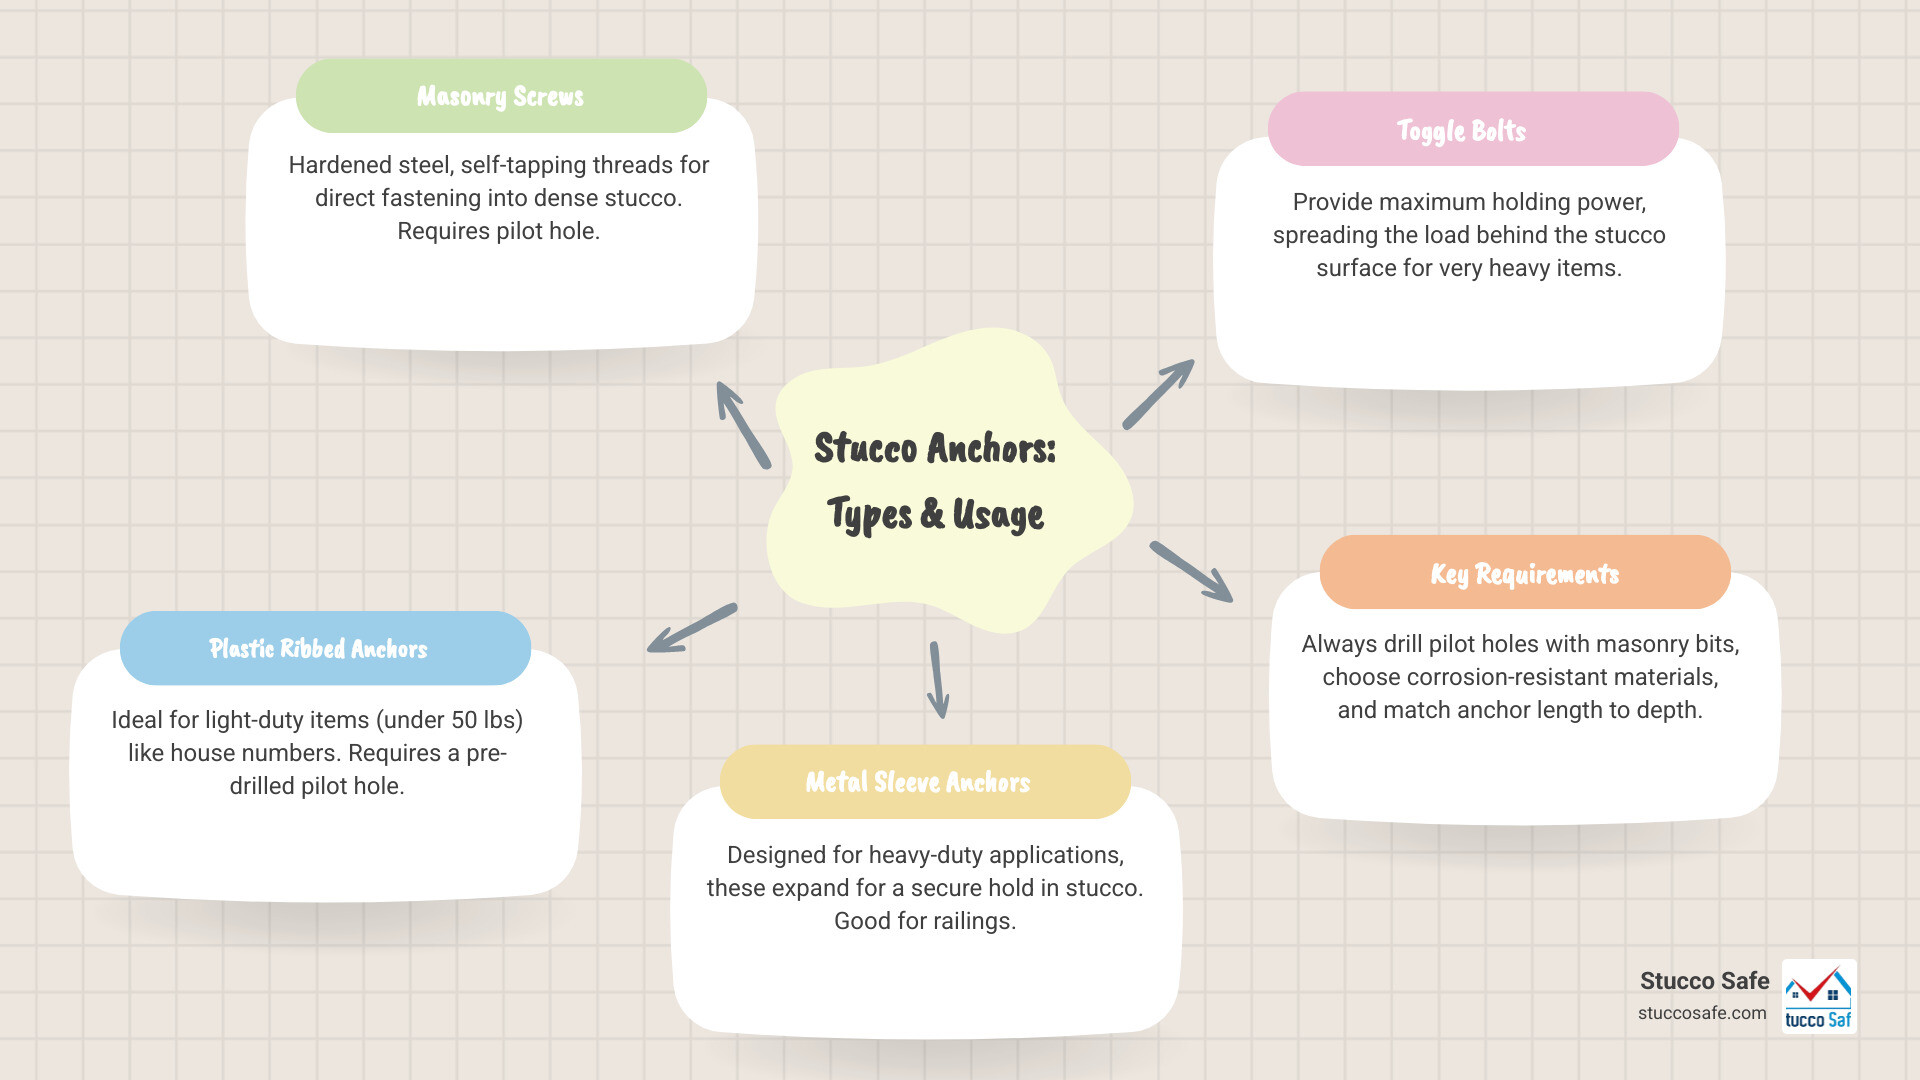
- Masonry Screws (Tapcon, Buildex) – Self-tapping threads, 3/16″ to 1/4″ diameter
- Plastic Ribbed Anchors – Light-duty items under 50 lbs, requires pilot hole
- Metal Sleeve Anchors – Heavy-duty applications, expands for secure hold
- Toggle Bolts – Maximum holding power for heavy items
Key Requirements:
- Always drill pilot holes with masonry bits
- Choose corrosion-resistant materials for outdoor use
- Match anchor length to stucco thickness plus penetration depth
Stucco is surprisingly hard – similar to concrete in density – and its brittle nature means regular wood screws or drywall anchors will either fail to penetrate or cause cracking. The cement-based material requires fasteners with hardened steel construction and aggressive threading to bite effectively into the surface.
Unlike drywall where you can simply drive a screw, stucco demands careful preparation. The typical three-coat stucco system creates a surface that’s tough enough to dull standard drill bits and strong enough to snap inferior fasteners.
As Gabe Kesslick, I’ve been investigating stucco systems since 2001 and have seen countless fastener failures that led to water intrusion and costly repairs. My experience with stucco screw anchors has shown that choosing the right fastener upfront prevents major headaches down the road.
Understanding Your Stucco Before You Drill
Here’s the thing about stucco – not all stucco is created equal! Before you even pick up that drill, you need to know what type of stucco system you’re dealing with. Trust me, this knowledge will save you from some serious headaches (and potentially expensive mistakes) down the road.
Traditional stucco is the old-school champion that’s been protecting homes for decades. This cement-based system is tough as nails – literally made from cement, sand, and water applied in a three-coat system over wire lath and wood sheathing. Think of it as the concrete sidewalk of exterior walls: hard, brittle, and incredibly durable. When you tap on traditional stucco, it sounds solid and feels rock-hard under your knuckles.
The challenge with traditional stucco? Its brittle nature means it can crack if you’re not careful with your drilling technique. But once you get the right stucco screw anchors properly installed, they’ll hold like nobody’s business.
Synthetic stucco, also known as EIFS (Exterior Insulation and Finish Systems), is a completely different animal. Don’t let its similar appearance fool you! This system features an acrylic finish over a foam insulation layer, creating a softer surface that might even have a slight give when you press on it.
The tricky part about EIFS? That foam layer means your standard-length fasteners won’t cut it. You’ll need longer stucco screw anchors that can penetrate through the foam and reach the structural sheathing or studs behind it for a secure hold.
Identifying your stucco type is easier than you might think. Traditional stucco typically has a harder, more textured feel and makes a solid sound when tapped. EIFS feels softer and more uniform, with a slight cushioned sensation when pressed firmly.
Still not sure? That’s perfectly okay! Sometimes the differences aren’t immediately obvious, especially if you’re dealing with newer synthetic systems that mimic traditional textures. When in doubt, it’s worth getting a professional assessment – particularly since your anchor selection depends entirely on getting this identification right.
Understanding your stucco type directly impacts your stucco screw anchors selection and installation approach. Get this foundation step right, and everything else falls into place beautifully. For detailed drilling techniques once you’ve identified your stucco type, check out our comprehensive guide on How to Drill into Stucco.
Choosing the Right Stucco Screw Anchors for Your Project
Now that we understand the nuances of stucco types, let’s dive into selecting the perfect stucco screw anchors for your specific needs! Think of it like choosing the right shoes for different activities – you wouldn’t wear flip-flops to climb a mountain, and you shouldn’t use lightweight anchors for heavy-duty jobs.
The beauty of working with stucco is that once you choose the right anchor and install it properly, you’ll have a rock-solid connection that can last for decades. But getting there requires understanding a few key factors that will guide your selection.
Weight is your first consideration. Are you hanging a simple house number that weighs a few ounces, or mounting an outdoor light fixture that could weigh several pounds? The difference matters enormously when selecting anchors. Light-duty items under 20 pounds can often get by with plastic anchors, while heavy-duty applications demand metal expansion anchors or masonry screws.
Corrosion resistance is equally critical, especially for outdoor installations. Nobody wants to see rusty streaks running down their beautiful stucco walls two years later! Look for stainless steel or specially coated fasteners designed to withstand the elements.
| Anchor Type | Use Case | Weight Capacity | Pros | Cons |
|---|---|---|---|---|
| Plastic Ribbed Anchors | Light items (house numbers, small signs) | Up to 15-20 lbs | Inexpensive, easy to install, good for non-structural applications, provides additional stability | Limited weight capacity, not for heavy loads, can degrade over time with UV exposure |
| Metal Sleeve Anchors | Medium to heavy items (light fixtures, mailboxes) | 25-100+ lbs | Strong holding power, expands for secure grip, durable, suitable for heavier items | Requires precise pilot hole, can be more challenging to install, not ideal for delicate stucco surfaces |
| Masonry Screws | Light to medium items (electrical boxes, small shelves) | 20-50 lbs | Direct fastening, self-tapping, hardened steel, good for tough material, corrosion-resistant coating | Requires specific drill bit, can crack stucco if overtightened, needs pilot hole |
Types of Stucco Screw Anchors
Let’s explore the most reliable stucco screw anchors you’ll encounter, each with their own strengths and ideal applications.
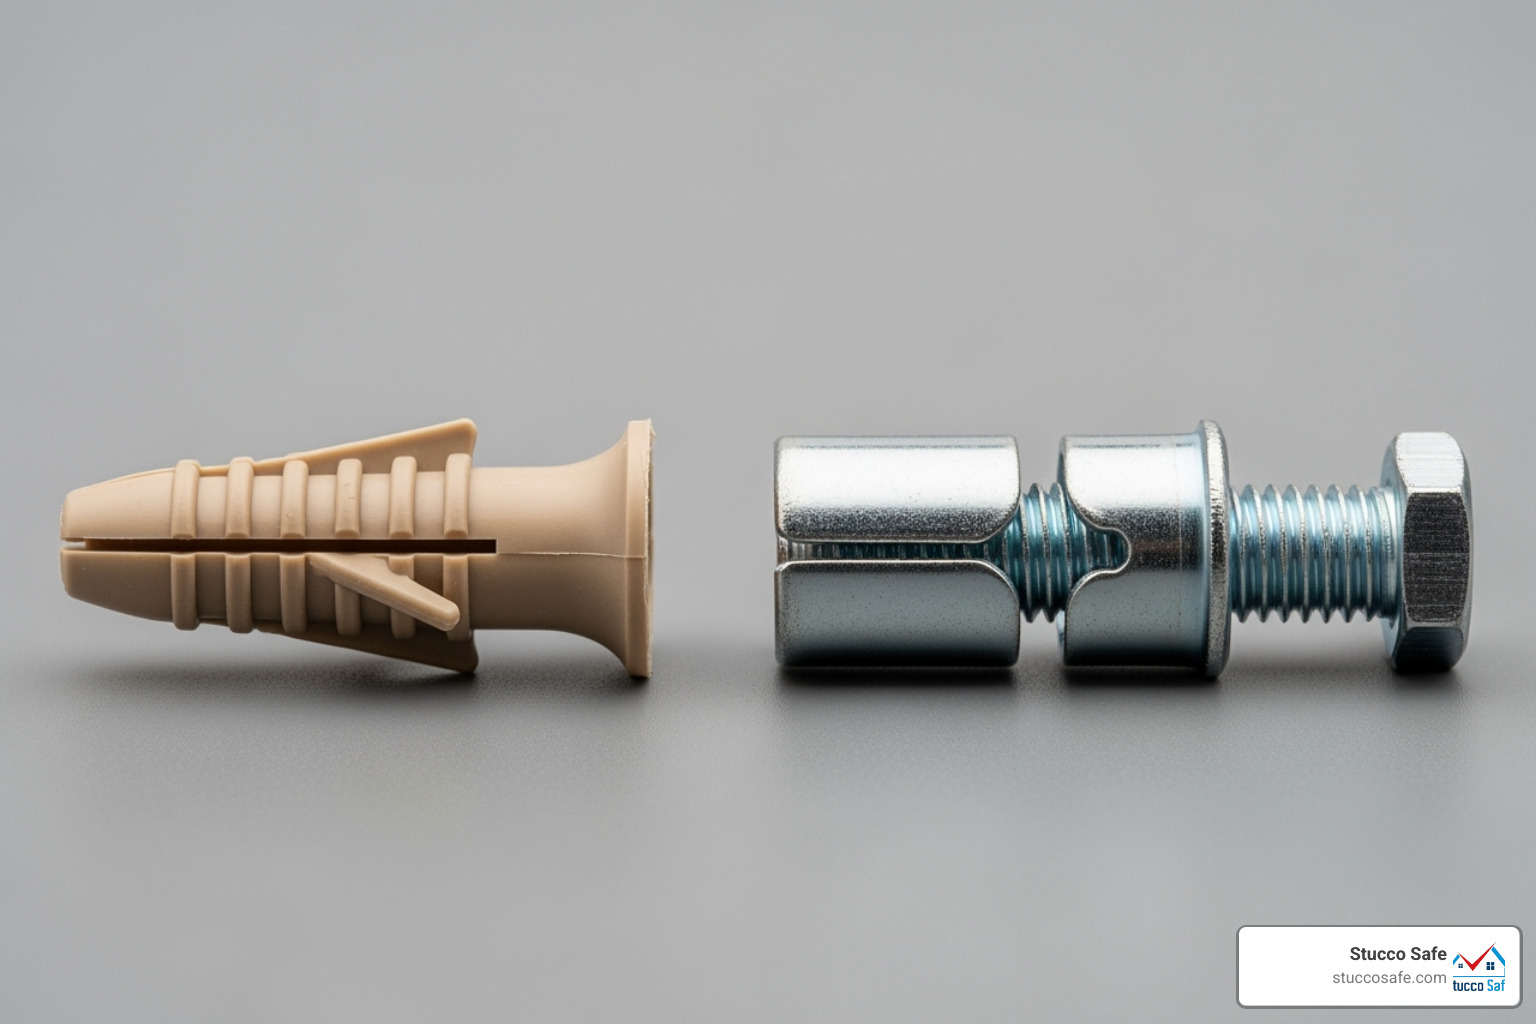
Plastic anchors are the workhorses for lighter applications. These ribbed nylon sleeves slip into a pre-drilled pilot hole, then expand as you drive the screw in. They create a friction fit that’s perfect for house numbers, small decorative pieces, or lightweight outdoor thermometers. The key is matching the anchor size to your pilot hole – too loose and you won’t get proper expansion, too tight and you risk cracking the stucco.
When you need serious holding power, metal expansion anchors (also called sleeve anchors) step up to the plate. These clever fasteners feature a metal sleeve that expands dramatically when you tighten the bolt or screw. They’re your go-to choice for railings, awnings, heavy light fixtures, or anything where failure isn’t an option. The expansion mechanism distributes the load across a wider area of stucco, reducing stress concentrations.
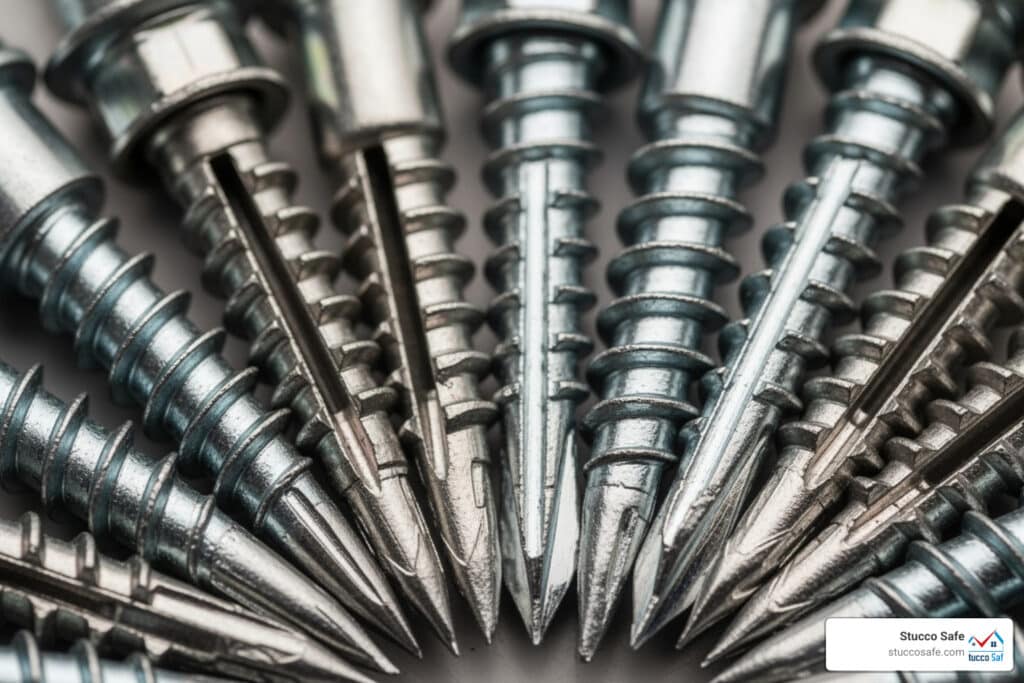
Masonry screws offer a different approach entirely. These hardened steel screws, with their aggressive self-tapping threads, are designed to bite directly into the stucco without needing a separate anchor sleeve. They’re fantastic for applications where you want direct fastening without the bulk of an expansion anchor. Just remember – they still require a pilot hole, but smaller than what you’d need for sleeve anchors.
How to Select the Right Screw Size and Length
Getting the length right is absolutely crucial for both safety and performance. Too short, and you’re only grabbing the stucco surface. Too long, and you might hit electrical wiring or plumbing behind the wall.
Stucco thickness varies significantly depending on your home’s construction. Traditional three-coat stucco typically measures between 5/8″ and 1 1/2″ thick, while some older homes might have even thicker applications. Your anchor needs to penetrate completely through this layer to reach the solid substrate beneath.
Penetrating the sheathing and ideally hitting a wall stud provides the ultimate holding power. Most homes have 1/2″ to 5/8″ plywood or OSB sheathing behind the stucco. For maximum security, especially with heavier items, you want your stucco screw anchors to bite into this structural layer. This might mean using 2″ or longer fasteners for traditional stucco applications.
Foam layers in EIFS systems completely change the game. If your home has synthetic stucco, there could be 2″ to 4″ of foam insulation between the finish coat and the sheathing. This means you’ll need much longer fasteners – sometimes 3″ or more – to reach the structural backing. Don’t guess on this one; if you’re unsure about your wall assembly, it’s worth having a professional assessment.
Measuring from the weep screed can help you gauge stucco thickness near the foundation. The weep screed (that metal strip at the bottom of the stucco) gives you a reference point for how thick your stucco system is. This measurement helps ensure your fasteners are long enough to engage properly with the substrate, not just the stucco itself.
The goal isn’t just to make something stick to the wall – it’s to create a connection that will remain secure for years to come, protecting both your investment and your family’s safety.
How to Safely Install Screws and Anchors into Stucco: A Step-by-Step Guide
Installing stucco screw anchors might feel intimidating at first, but I promise it’s more manageable than you think! With the right approach and a bit of patience, you’ll have your items securely mounted without a single crack in your beautiful stucco walls.
Before we dive in, let’s make sure you have everything you need within arm’s reach. Nothing’s more frustrating than realizing you’re missing a crucial tool halfway through the job! You’ll need a power drill with variable speed control, masonry drill bits that match your anchor diameter perfectly, a hammer for gentle tapping, a screwdriver or nut driver for the final installation, a level to keep everything straight, safety goggles (trust me on this one!), and some waterproof caulk that matches your stucco color.
For additional perspective on tackling stucco projects, you might find this resource helpful: A comprehensive guide to hanging items on stucco walls.
Step 1: Mark Your Location and Drill the Pilot Hole
This step is absolutely critical – getting your pilot hole right is what separates a successful installation from a cracked mess that’ll haunt you every time you walk by.
Start by marking your exact location with a pencil. If you’re mounting something with multiple attachment points, mark them all and double-check with your level. There’s nothing worse than a crooked mailbox that mocks you from the curb!
Choosing the correct drill bit size is where many people stumble. Your masonry drill bit should match the diameter of your stucco screw anchors exactly – not bigger, not smaller. For a 3/16″ anchor, use a 3/16″ masonry bit. It’s that simple, but getting it wrong can ruin your whole project. If you’re using specialty masonry screws, the manufacturer usually includes the right bit size on the package. Need help selecting the perfect bit? Check out our guide: Find the best drill bit for stucco.
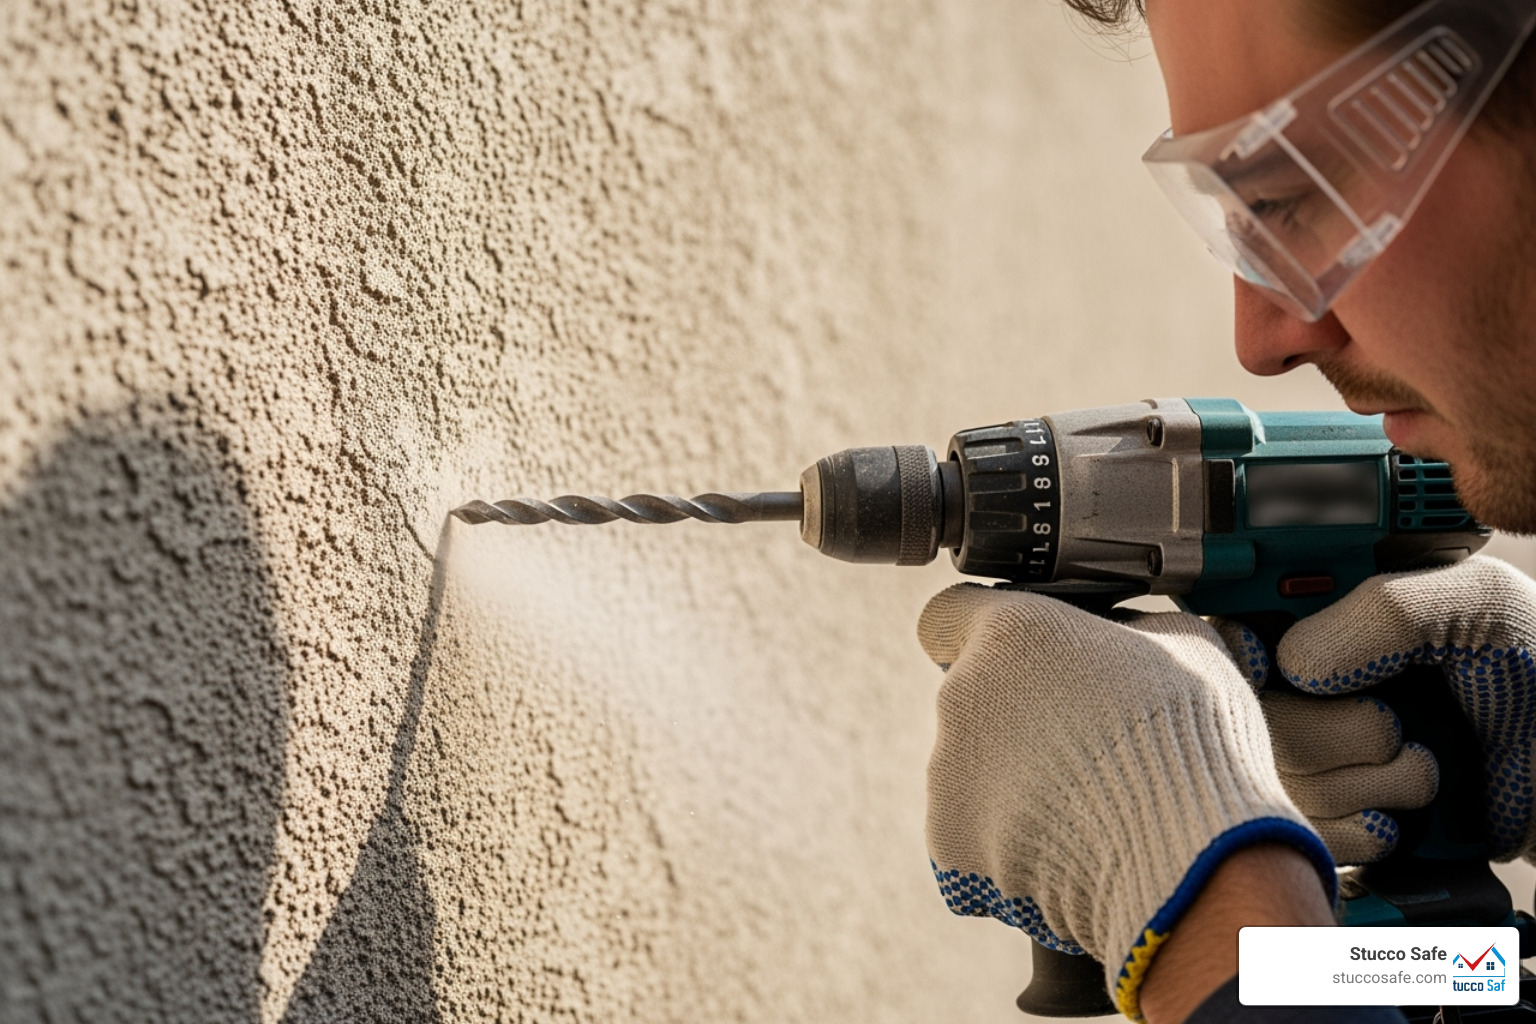
Now comes the moment of truth – drilling the pilot hole. Put on those safety goggles (seriously, stucco dust in your eyes is no joke), attach your masonry bit, and place the tip precisely on your mark. Start drilling slowly with steady, even pressure. Don’t rush this part! Stucco is tough stuff, and forcing it will only lead to chips and cracks.
Once your bit starts biting into the stucco, you can gradually increase the speed. Drill slightly deeper than your anchor length to account for any dust that accumulates at the bottom. The drilling will feel different from wood or drywall – stucco has a dense, concrete-like resistance that demands respect and patience.
Step 2: Insert the Anchor and Drive the Screw
With your perfect pilot hole ready, we’re moving into the home stretch. This is where your careful preparation pays off.
Inserting the anchor should feel smooth and controlled. For plastic or metal sleeve anchors, gently push the anchor into your pilot hole. If it resists, use your hammer with light, controlled taps – think “gentle persuasion” rather than “demolition crew.” The goal is getting the anchor head flush with your stucco surface without damaging anything.
Driving the screw requires a delicate touch and good judgment. Position your item over the anchor, insert the appropriate screw (or drive your masonry screw directly into the pilot hole), and start turning clockwise with your drill on low speed. Apply steady pressure, but here’s the crucial part – avoid overtightening at all costs!
This is where I see most DIY disasters happen. That satisfying feeling of really cranking down a screw can quickly turn into a nightmare of cracked stucco radiating out from your anchor point. Stop as soon as you feel solid resistance and your item sits securely against the wall. Your stucco screw anchors are doing their job when they feel snug and stable, not when they’re torqued down like you’re working on a race car.
The final step that many people skip (but shouldn’t!) is sealing the hole with waterproof caulk. Apply a small, neat bead around the screw head and any gaps where your mounted item meets the stucco. This simple step prevents moisture from sneaking behind your stucco, which can cause expensive damage down the road. Choose a caulk color that blends seamlessly with your stucco for a professional finish.
Following these steps carefully will give you the confidence to tackle any stucco mounting project, knowing your fixtures are secure and your walls are protected.
Common Mistakes and How to Avoid Damaging Your Stucco
Let’s be honest – we’ve all been there. You’re excited to hang that beautiful new outdoor light fixture, and in your enthusiasm, you grab the nearest screw and start drilling away. But when it comes to stucco, this approach can quickly turn your weekend project into a costly repair nightmare.
Stucco screw anchors require a thoughtful approach because stucco is surprisingly unforgiving. Unlike drywall that might give you a second chance, stucco will crack, chip, or fail spectacularly if we don’t treat it with the respect it deserves.
The most serious risk we face is water intrusion. When we create an unsealed entry point or crack the stucco during installation, we’re essentially rolling out the welcome mat for moisture. Once water sneaks behind your stucco, it can cause devastating damage to the underlying wood sheathing and framing – damage that’s often invisible until it’s extensive and expensive to fix.
Cracking and chipping might seem like cosmetic issues, but they’re actually structural problems in disguise. These visible signs of damage weaken the anchor’s grip and create pathways for water. What starts as a small crack around a screw can eventually lead to fastener failure, where your carefully mounted item comes crashing down along with chunks of stucco.
Here’s where most homeowners go wrong, and how we can avoid these pitfalls entirely:
Using regular household screws is probably the biggest mistake we see. Those standard wood screws or drywall anchors in your toolbox simply aren’t tough enough for stucco’s cement-based surface. They’ll either fail to penetrate properly or strip out under pressure, leaving you with a damaged wall and a loose fixture.
Hammering directly into stucco is like trying to crack a walnut with a sledgehammer – it’s overkill that causes unnecessary damage. Stucco’s brittle nature means it needs the controlled penetration of a drill, not the sudden impact of a hammer. Even tapping too aggressively when installing anchors can cause spider-web cracks around the entry point.
Drilling oversized holes is another common error that leads to loose, wobbly attachments. When the pilot hole is too large, your stucco screw anchors have nothing solid to grip against. This creates a frustrating situation where the screw spins freely without tightening, or worse, pulls out entirely under load.
Perhaps most critically, skipping the sealing step leaves your home vulnerable to moisture damage. That tiny gap around the screw head might look insignificant, but it’s all water needs to start its destructive work. A small bead of exterior caulk takes seconds to apply but can save you thousands in water damage repairs.
We also see homeowners overtightening screws, thinking that tighter always means more secure. In stucco, this approach backfires spectacularly. Too much torque can crack the material around the anchor, actually weakening the connection while creating unsightly damage.
The stakes are particularly high if your home was built between 1993 and 2006, when building codes weren’t as stringent about moisture barriers. These homes already have a higher risk of stucco-related moisture issues, making proper fastener installation even more critical.
By understanding these common pitfalls, we can approach our stucco projects with the care and precision they deserve. Taking a few extra minutes to do it right the first time beats spending weeks dealing with repairs later. If you do encounter minor damage during your project, don’t panic – small issues are often fixable with the right approach: Learn how to repair minor stucco damage.
When to Call a Professional Instead of DIY
While hanging a picture or mounting house numbers with stucco screw anchors can be a satisfying weekend project, there are definitely times when it’s wise to step back and call in the experts. Think of it like cooking – you might confidently scramble eggs, but attempting a five-course French dinner without experience could end in disaster!
The first red flag is when you’re dealing with very heavy or structural items. If you’re planning to install a large awning, a heavy wrought-iron gate, or structural railings, these aren’t typical DIY projects. These installations require specialized engineering calculations, heavy-duty anchors, and often need to connect directly to your home’s framing. Getting it wrong could mean a dangerous failure down the road.
Uncertainty about your wall composition is another excellent reason to pause and seek professional guidance. If you can’t tell whether you have traditional cement stucco or synthetic EIFS, or if your home was built during the problematic construction period between 1993 and 2006, a professional assessment becomes invaluable. Guessing wrong could lead to fastener failure or worse – water intrusion.
But the biggest warning sign? Existing damage to your stucco. If you notice moisture stains around windows or doors, areas where the stucco feels soft or spongy, bulging sections, or extensive cracking, stop everything! These symptoms often indicate water has already found its way behind your stucco system. Installing stucco screw anchors into compromised areas is like putting a band-aid on a broken bone – it won’t solve the underlying problem and might make things worse.
At Stucco Safe, we understand that peace of mind is worth its weight in gold. Our certified inspectors use forensic testing methods to peek behind the surface and identify problems that aren’t visible to the naked eye. We can determine whether your stucco system is healthy enough to support new fasteners, or if there are underlying issues that need attention first.
A professional stucco inspection is particularly crucial if you’re planning significant exterior modifications or if your home shows any warning signs. Our inspections vary in cost from $495 to $1595 or more for very large homes – a smart investment when you consider that stucco remediation can cost hundreds of thousands of dollars if problems go undetected.
We’re proud to serve homeowners throughout Southeastern Pennsylvania, New Jersey, and Delaware. Whether you’re in Philadelphia, West Chester, King of Prussia, or anywhere in our service area, we’re here to help you make informed decisions about your home’s exterior. And if we do find issues that need repair, we can help you connect with stucco repair contractors who understand the complexities of stucco systems.
There’s no shame in calling for backup when the stakes are high. Your home’s structural integrity is too important to leave to chance!
Conclusion: Secure Your Fixtures with Confidence
And there you have it – everything you need to know about stucco screw anchors to tackle your next project with complete confidence! We’ve walked through quite a journey together, from understanding the unique challenges that stucco presents to mastering the art of proper installation.
The beauty of working with stucco is that once you understand its personality – that hard, brittle nature that demands respect – it becomes a reliable partner for securing everything from house numbers to heavy outdoor fixtures. The key is remembering that stucco isn’t just another wall surface; it’s a specialized material that rewards careful preparation and the right approach.
Think of everything we’ve covered as your toolkit for success. Knowing your stucco type sets the foundation for every decision that follows. Whether you’re dealing with traditional cement-based stucco or synthetic EIFS makes all the difference in choosing the right stucco screw anchors. From there, matching your anchor type to your project’s weight requirements ensures you’re not asking a plastic anchor to do a metal sleeve anchor’s job.
The installation process itself becomes almost meditative when you have the right tools and technique. That perfectly sized pilot hole, drilled with patience and precision, sets you up for success. The gentle tap of the hammer to seat the anchor, the careful drive of the screw without overtightening, and that final bead of waterproof caulk – each step builds on the last to create a secure, weather-resistant attachment.
We’ve also learned that knowing when to step back is just as important as knowing how to move forward. When you spot moisture stains, extensive cracking, or feel uncertain about your wall’s composition, calling in professionals like our team at Stucco Safe isn’t admitting defeat – it’s making a smart investment in your home’s long-term health and your own peace of mind.
Your home’s stucco exterior is more than just a pretty face; it’s your first line of defense against the elements. By treating it with the care and respect it deserves, using proper stucco screw anchors and installation techniques, you’re not just hanging a mailbox or mounting a light fixture – you’re maintaining the integrity of your home’s protective shell.
Ready to dive even deeper? Explore our complete guide to the best anchors for stucco for additional insights and product recommendations that will serve you well on your next stucco project.

